Category Equipment & Hive Guides

Beekeeping equipment
Cleaning and Maintaining Beekeeping Equipment

Maintaining beekeeping equipment happens in two different settings. During the season, you keep the parts in use working cleanly and safely. Between jobs, seasons or apiaries, you decide what can be reused, what needs repair, what needs cleaning or sterilising, and what must not be moved at all. Treating those as separate tasks makes the work more practical and improves biosecurity.

Routine care while equipment is in use

Bees naturally coat their home with wax and propolis, so a working hive does not need to look clinically clean. The aim during inspections is to prevent build-up from interfering with use. Keep frame lugs, top bars and box rebates clear enough that frames lift and return without force. Remove loose brace comb and any wax or propolis that stops boxes sitting properly, but do not chase every trace of propolis: it is part of the colony’s own sealing and arrangement.

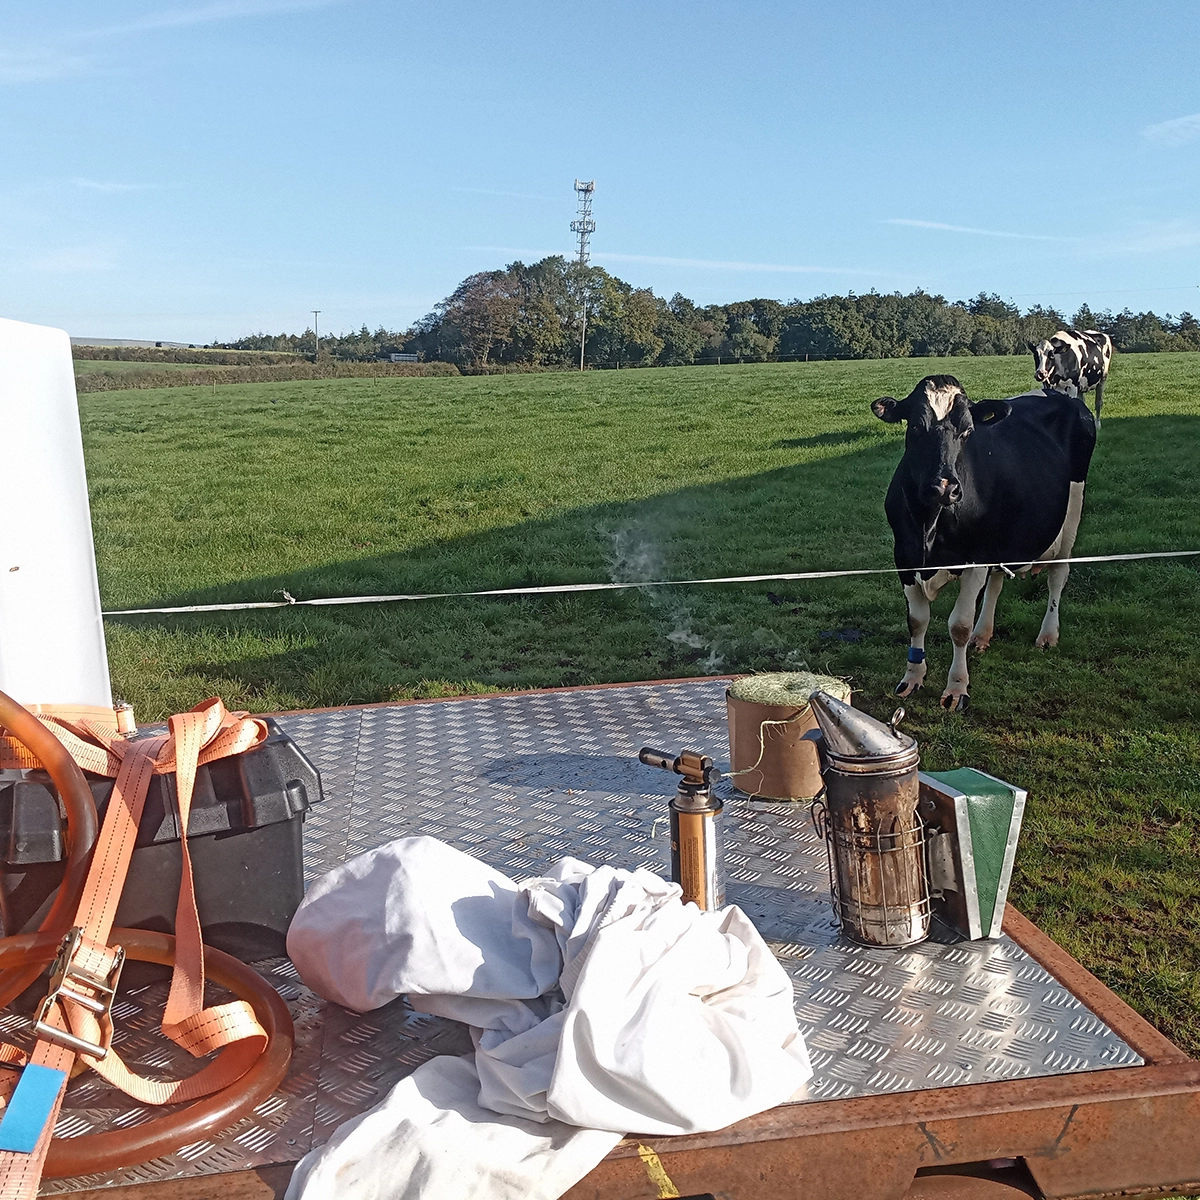
Keep the hive tool, smoker and protective clothing reliable. Scrape the hive tool when it becomes heavily coated; empty the smoker once cold, clear ash from its air path and check its bellows, lid and fuel arrangement. Wash or repair protective clothing as required and replace split gloves or damaged veil fastenings. The point is not appearance; it is calm, dependable work around colonies.

Work to an apiary unit

In routine commercial management, it is practical to treat the colonies in one apiary as a working unit. Hives share an environment and bees may drift or rob, so it is rarely realistic to act as though every colony is completely isolated. Within a healthy apiary, equipment can therefore be managed and used as part of that apiary’s system, while still keeping sensible records of where combs, boxes and queens have come from.

The stronger boundary is between apiaries. Hive tools, gloves, boxes, feeders, floors and other used equipment should be cleaned before they move to another site. Keep equipment awaiting cleaning separate from clean, ready-to-use equipment. This simple distinction makes it easier to avoid bringing an unseen problem from one location to another.

There is an important exception: if you see brood or adult-bee signs that you cannot explain, do not use the usual assumption that the rest of the apiary is clear, and do not move colonies, comb, honey or equipment from the site. Set affected material aside and seek appropriate advice before deciding how it is dealt with.

Cycling equipment out of use

When frames, boxes or other parts come out of use, give them a deliberate assessment rather than stacking them somewhere for later. Ask whether the item is still structurally sound, whether it can be repaired, whether it needs ordinary cleaning before storage, or whether it should be removed from the working system altogether.

Older brood comb is often removed as part of planned comb renewal. Record its origin and reason for removal. Do not treat all old comb alike: comb removed because it is worn or no longer useful is different from comb associated with an unexplained colony problem. Frames with damaged lugs, broken foundation, poor spacing or badly distorted comb can be dealt with before the next active period, rather than becoming an awkward decision during an inspection.

Boxes, floors, crownboards, feeders and queen excluders should be checked for loose joints, warping, damaged surfaces and parts that no longer fit correctly. Repairing or replacing an item while it is out of service is usually quicker and less disruptive than improvising when a colony needs space.

Cleaning, sterilising and storage

Cleaning removes wax, propolis, debris and dirt so that equipment can be assessed, stored and used properly. Sterilising or disinfecting is a different task, used where disease is known or suspected, or where equipment has an uncertain history. The method needs to match the material and the reason for doing it; ordinary scraping and washing are not a substitute for a disease-control procedure.

Follow current National Bee Unit guidance and product instructions for any cleaning or disinfection method. Keep stored equipment dry, protected from bees and pests, and clearly separated by status: clean and ready for use, awaiting cleaning, or isolated pending a decision. That avoids the common problem of a sound spare box being mixed with material that has not yet been checked.

Set up the next job

A short reset after each visit makes the system easier to run: return tools together, note anything that needs repair, and put removed equipment into the correct stream rather than the nearest pile. Good maintenance is not about making every piece of timber look new. It is about reliable equipment, clear separation between apiaries and enough information to make the next decision confidently.
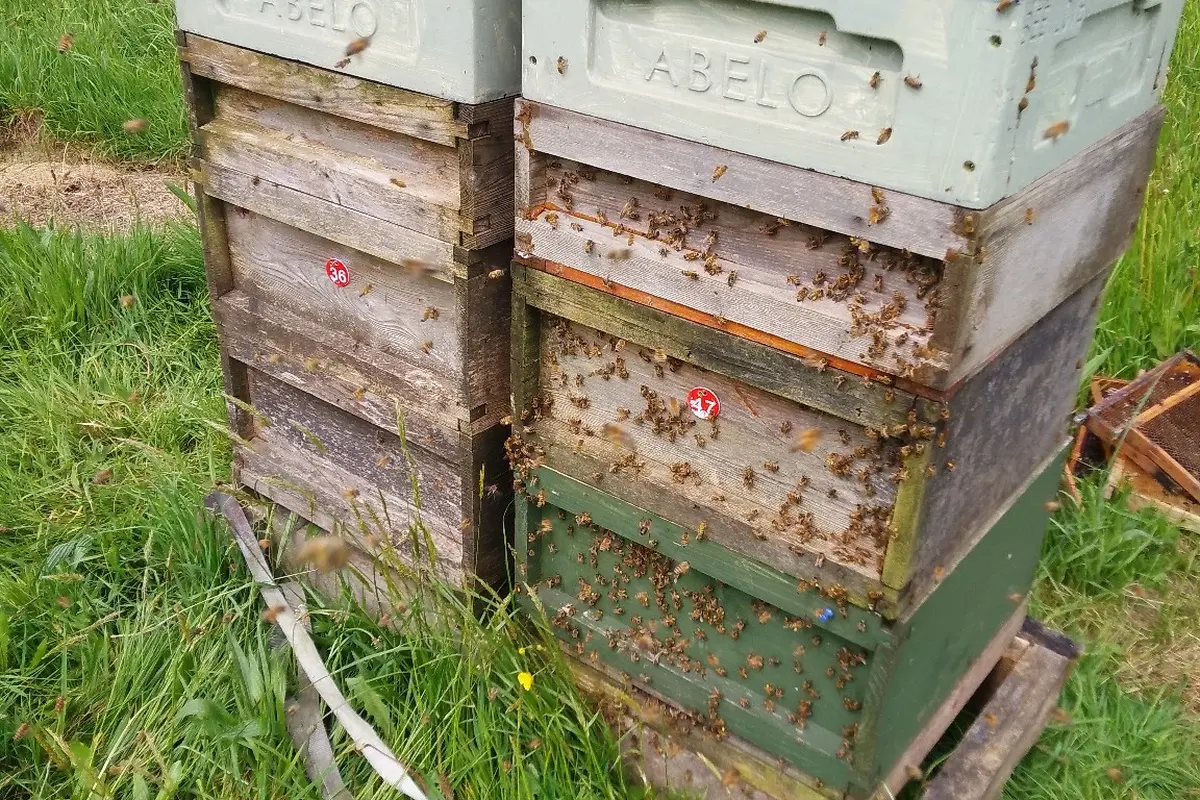
Two beehives in an apiary
Choosing a Hive System: Compatibility Before Buying

Choosing a hive is not only about deciding whether you like the look of a National, Langstroth or another design. A hive is a system of parts that must work together: boxes, frames, floors, roofs, feeders and other equipment all need to be compatible. Getting that clear at the beginning makes later purchases simpler and helps avoid expensive mistakes.

Choose a system, then learn its parts

In the UK, the British National is widely used, but Langstroth, Commercial and other systems are also established choices. None is automatically the best hive for every beekeeper. Local support, the equipment already used by someone helping you, availability of second-hand parts and your own intended management all matter.

Once you have chosen a system, learn the actual dimensions and names of its parts. “Deep”, “shallow”, “super” and “brood box” are not universal measurements. Some words describe the physical size of a box; others describe the job it is doing on a colony. Do not assume that parts with familiar names will fit together just because they are sold for beekeeping.

Frames are the critical fit

Frames must match the box they are intended for. Their length, depth, top-bar shape and spacing may vary between hive systems and box sizes. A frame that is only slightly wrong can leave damaging gaps, fail to hang correctly or prevent the box closing properly.

Before ordering, check the exact box and frame specification rather than relying only on a broad label. This matters especially when buying second-hand equipment or mixing parts from different manufacturers. A supplier can normally confirm what frames, foundation and queen excluder are designed to fit a particular box.

Compatibility is more than boxes and frames

A roof should cover the boxes beneath it properly; a floor must match their footprint; a crownboard, feeder and queen excluder need to sit correctly on the box. Nucleus boxes, spare brood boxes and honey boxes also need consideration if you want them to be useful within the same working system.

It is possible to use adapters or intentionally combine equipment, but that should be a considered choice with a clear purpose. It is very different from discovering halfway through an inspection that the frames, box and feeder cannot be used together.

Think about the colony’s needs, not only the catalogue

The physical system should support the way you expect to manage colonies. For example, a beekeeper who wants to use a large single brood box will look at different options from someone planning to use brood-and-a-half. That is a question about colony space and management, not simply about a preferred box name.

Similarly, the most common local hive can be a sensible choice because spare parts, advice and sometimes loan equipment are easier to find. But the right decision is not made by copying a neighbour without understanding why their equipment suits their circumstances.

A simple check before you buy

  • What hive system and exact box size is this part for?
  • Which frames and foundation fit it?
  • Will it sit properly with the floor, crownboard, roof and feeder I already have or plan to buy?
  • What purpose will it serve in the colony: brood space, surplus honey storage, feeding or something else?
  • Can I get replacements and compatible parts locally or reliably when I need them?

A compatible system does not lock you into one rigid way of keeping bees. It gives you dependable equipment so that your decisions can be based on what the colony needs, rather than on making mismatched parts fit.

Frames, Foundation and Comb: What They Do

Frames make it possible to inspect and manage a colony without dismantling the comb it lives on. Foundation can guide the bees’ comb-building, but it is the comb itself that becomes the colony’s working structure. Understanding the difference helps a new beekeeper avoid treating frames as simply identical units to count.

Frames hold removable comb

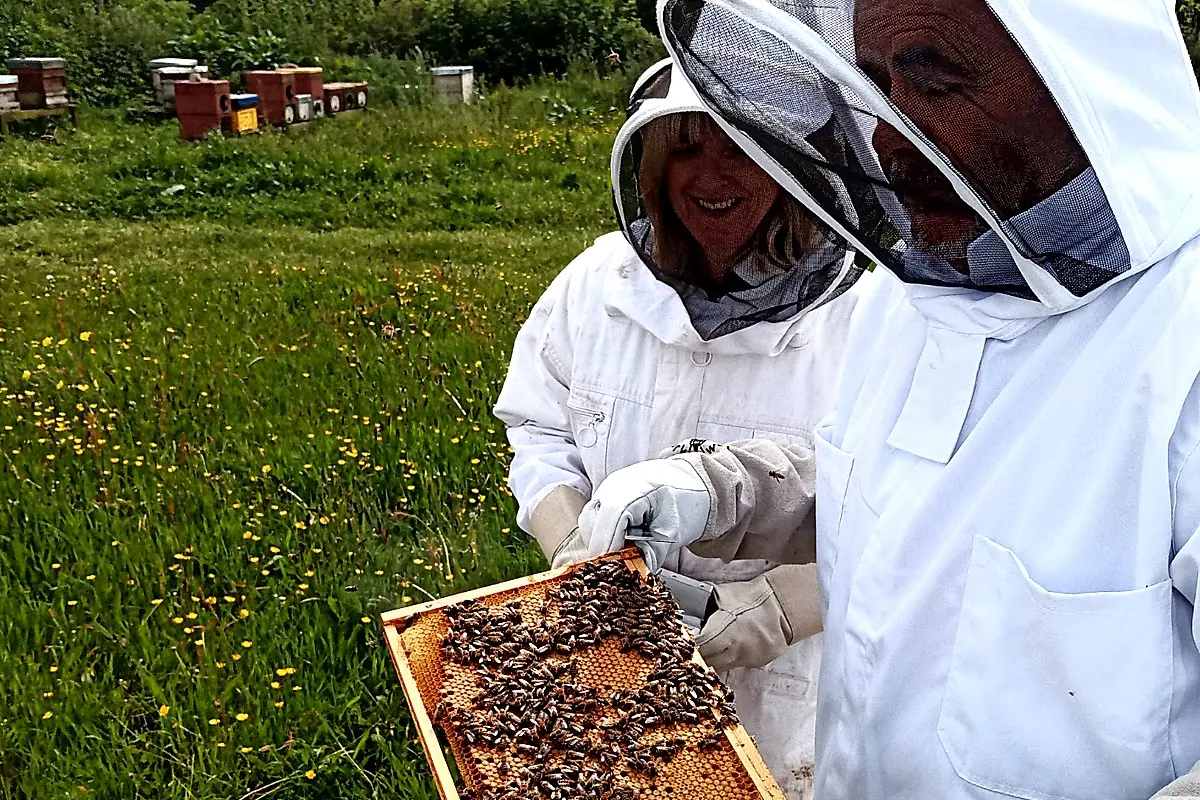
Beekeepers inspecting a frame of honeycomb in an apiary
Removable frames let a beekeeper inspect the comb while keeping it intact.

A frame is the wooden or plastic structure that holds a sheet of foundation, a starter strip, or comb built by the bees. Its dimensions must match the box and hive system being used. A shallow box needs shallow frames; a deep box needs deep frames. Frames from different hive systems are not necessarily compatible, even where their names sound similar.

The point of a movable-frame hive is that a beekeeper can lift out individual combs, examine them and return them without destroying the nest. That only works if the frames are correctly sized, spaced and handled gently. Keep them in their original order where possible: the colony has arranged its brood, food and empty space in a way that makes sense to it.

Foundation is a guide, not the comb itself

Foundation is a thin sheet, often wax or plastic, embossed with the beginnings of cell bases. It gives the bees a guide for building straight, removable worker comb. Frames can also be used with a narrow starter strip or without full foundation, allowing the bees to build their own comb.

Neither approach is automatically right for every colony or every management style. Full foundation can make it easier to obtain straight comb that is simple to inspect and extract from. Starter strips or foundationless frames need careful attention while new comb is being built, so that it remains straight and can be handled safely. Whichever you use, make sure it is suitable for the frame and for the job the comb will need to do.

Comb is the colony’s working structure

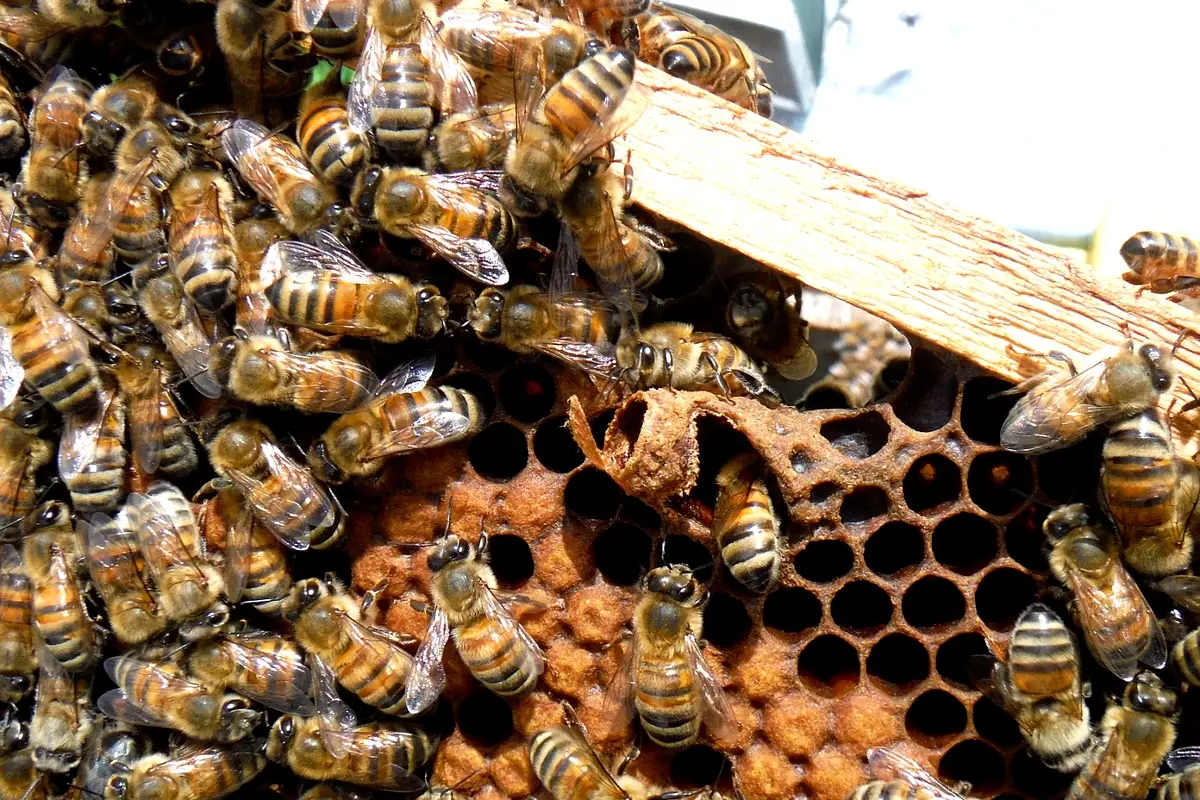
Bees use comb for brood rearing, pollen storage, nectar processing and honey storage. Those uses are often mixed together. A single frame may contain eggs and larvae in one area, capped brood in another, a band of pollen and nectar or honey around it. It is rarely as tidy as “one frame of brood” or “one frame of stores”.

When inspecting, first look for the pattern: where is the brood nest, is there enough food close to it, and does the colony have usable space? That tells you more than trying to turn every mixed frame into an exact number. With experience, you begin to recognise what you would expect to see next time and notice when a colony is moving away from that pattern.

New comb needs gentle handling

Freshly drawn comb is soft and can break or sag, particularly when it is warm or full of nectar. Keep it upright, avoid swinging it and support the frame securely. Do not force frames apart: work slowly and use the hive tool to break any propolis seal.

Comb also deserves attention when it is damaged, badly built, excessively old or no longer appropriate for the colony’s needs. Replace or remove it for a clear reason rather than following an arbitrary timetable. Any change to the comb arrangement should leave the colony with enough suitable brood space and food space for the conditions it faces.

A practical check before adding frames

Before adding a frame or box, ask what the colony needs now. A growing colony may need room to draw comb or store incoming forage; a small colony in poor weather may not be able to occupy extra space. The equipment is there to support the bees’ use of the hive, not to make the hive match a predetermined layout.

Frames and comb make a colony manageable, but they are also the record of how that colony is living. Learn to read them as a connected nest and your inspections will become more useful and less about counting.

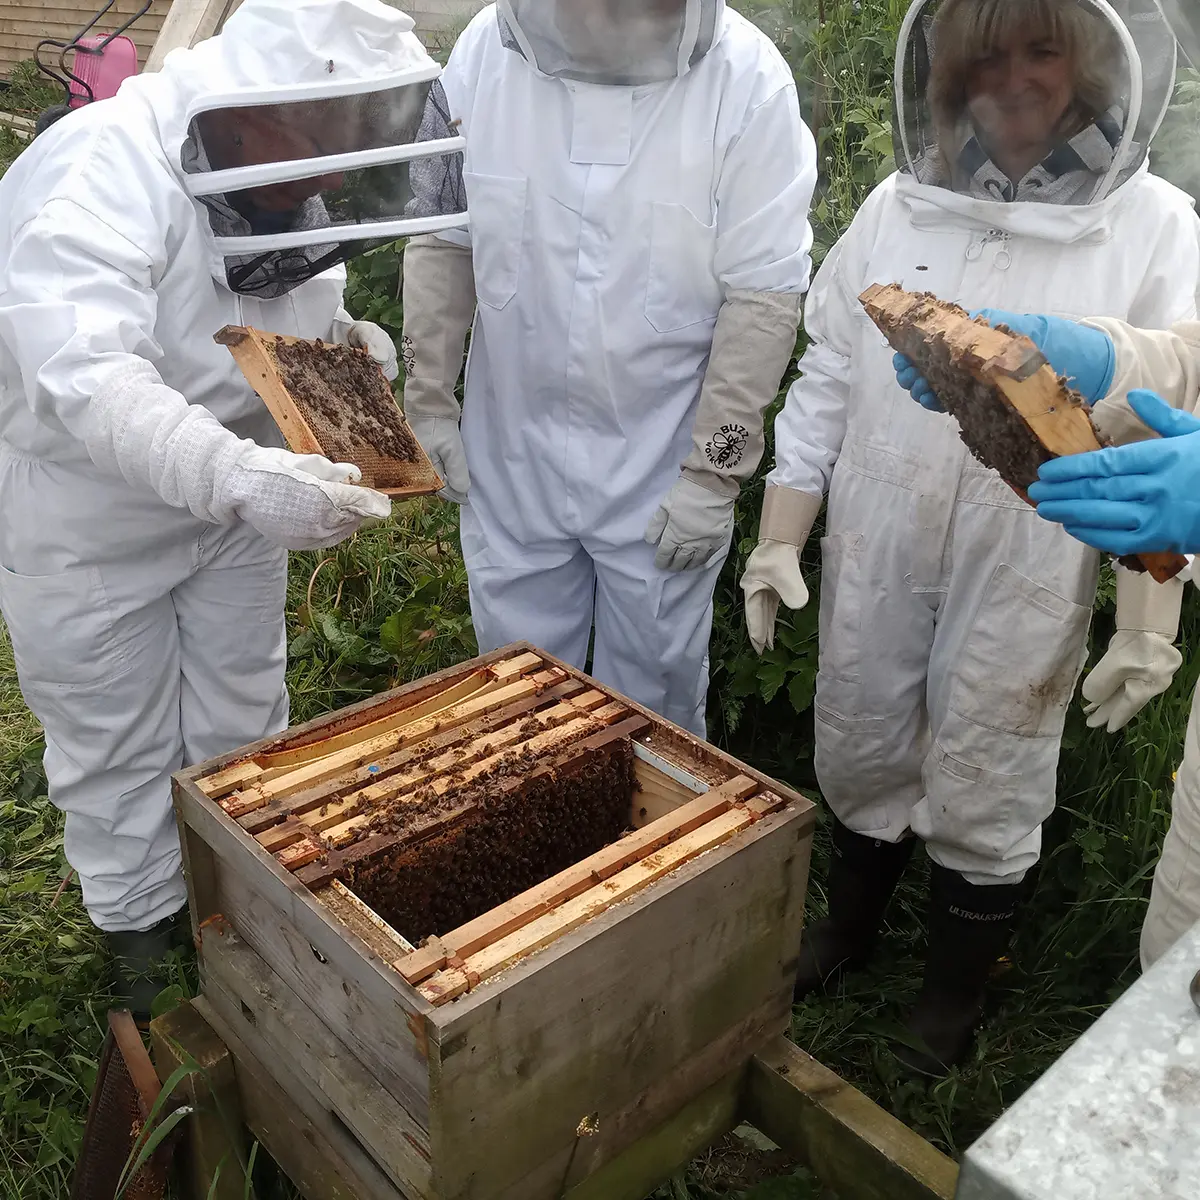
Beekeeper inspecting an open hive with frames
Parts of a Beehive: A Practical Guide

A beehive is a set of simple parts that gives a honeybee colony a dry, manageable home. The names can be confusing because a box may be described by its physical size and by the job it is doing in that particular hive. Keeping those two ideas separate makes equipment choices and beekeeping conversations much clearer.

Start with a compatible system

Choose a hive format and keep the main components compatible. In the UK, the British National is common, alongside Langstroth, Commercial and other systems. Boxes, frames, roofs, floors and queen excluders are not automatically interchangeable between them.

Box size and box purpose are different things

A box has a physical description: its length and width come from the hive system, while its depth may be described as shallow, deep or extra-deep. It also has a purpose when placed on a colony: it may be used for brood, stores or surplus honey. Those descriptions are not interchangeable.

For example, the National system commonly uses shallow, deep and extra-deep (14 × 12) boxes. Traditionally, deep or 14 × 12 boxes form the main brood nest and shallow boxes above them are used for surplus honey. In that familiar arrangement, beekeepers often call the shallow boxes “supers”. It is convenient shorthand, but it can hide the distinction. A deep box can be used as a honey super, and a shallow box used above a deep in a brood-and-a-half arrangement is functioning as brood space, not as a super.

When ordering or discussing equipment, use both descriptions where it matters: “a deep box to use as a honey super” is clearer than assuming that “super” means one particular box depth.

The stand and floor

A hive stand keeps the colony off the ground and the entrance clear of long grass and splashing rain. With a solid floor, a slight fall towards the entrance can help water drain out. An open-mesh floor changes that consideration. In either case, the hive needs to sit securely and the entrance must remain clear.

The floor forms the base of the hive and includes the entrance. Many modern hives use an open-mesh floor with a removable monitoring board underneath; a solid floor is also a usable design. The important thing is to understand how the particular floor on that hive works and what it requires from the beekeeper.

Frames, comb and the colony’s space

Frames hold the colony’s removable combs. They may contain a starter strip or wax or plastic foundation. Comb is the colony’s working structure: brood, pollen, nectar and honey may all be found on the same frame. Handle frames carefully and keep them in their original order where possible, because the bees arrange their nest for a reason.

The brood nest may occupy one box or more than one, depending on the box sizes, colony and management method. When a box above it is used to collect surplus honey, it is acting as a honey super. Add that storage space in response to a growing colony and a realistic prospect of forage, rather than simply because the calendar says so.

Queen excluder

A queen excluder is a grid designed to prevent the queen entering the boxes above it while allowing workers through. Its most familiar use is to keep brood out of honey supers. It is not a necessary part of every hive; it is a convenience that supports particular management styles and manipulations.

Crownboard and roof

The crownboard is the hive’s ceiling. It sits directly on the uppermost box and makes the close seal that the roof itself usually does not, helping to keep the colony enclosed and pests out. Feed holes or escape ports should be closed when they are not in use.

The roof is the weatherproof cover above the crownboard. It keeps out rain and protects the box edges. A well-fitting, insulated roof can help limit rapid temperature changes and condensation above the colony, but it does not replace the crownboard’s sealing role.

Once you know what each part is for, a hive becomes easier to read. The next step is not buying every available accessory; it is learning whether the colony has the space, warmth, food and dry shelter it needs at that moment.