Category Queen Rearing & Breeding

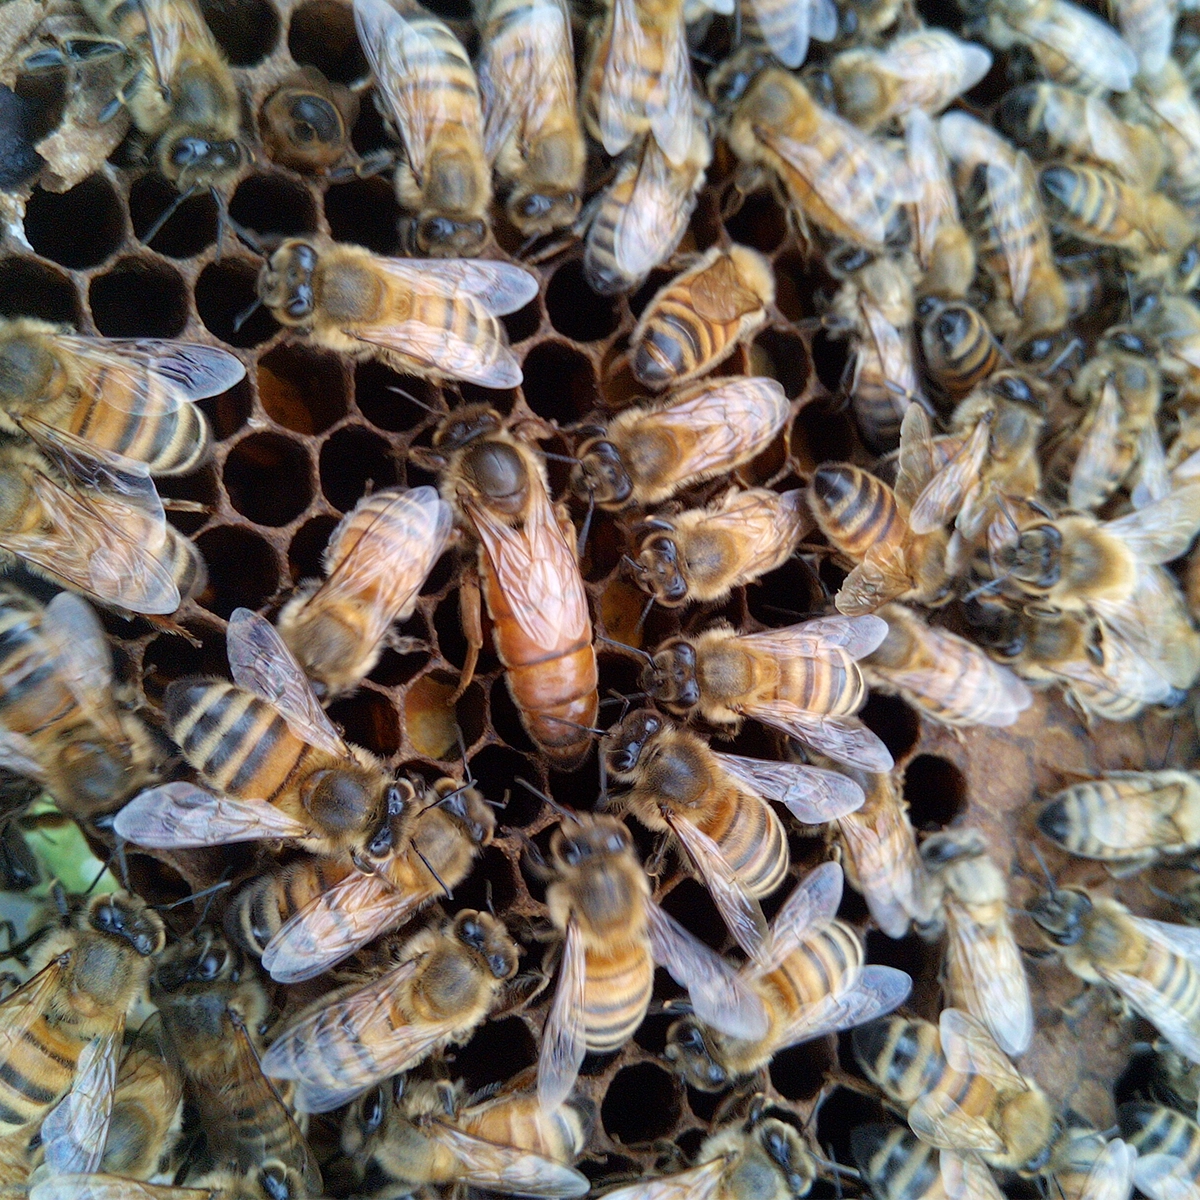
Queen bee on comb among worker bees
Queen Mating: From Emergence to First Eggs

← Back to Educational Resources

A virgin queen emerging from her cell is the start of a new stage, not the end of the process. She must mature, orientate, mate if conditions allow and then begin laying. The timings below help you plan checks, but they are ranges to work within rather than dates that guarantee an outcome.

What happens after emergence

In the first days, the virgin queen needs time to mature and settle in the colony. When weather and drone availability allow, she will take orientation and mating flights. Genetics, development conditions, colony strength, the local drone population and the weather all affect how quickly this progresses. Prolonged rain or unsuitable flying weather can delay mating well beyond the timetable you hoped for.

Practical checks after emergence

Time after emergence What to look for
First week Minimise disturbance. The queen is maturing and may be preparing to fly.
About two weeks Look for eggs. Their presence shows that the queen has begun laying, but does not by itself prove successful mating.
About three weeks In ordinary conditions, expect eggs and often some sealed brood. If there are no eggs, consider the weather and whether the queen is present.
If the queen is present but there are no eggs Give the colony another week where conditions or the queen’s age make that reasonable, then reassess.

These are practical decision points, not deadlines. A well-mated queen may be laying relatively soon after emergence in good weather; another may be delayed by conditions that are outside the beekeeper’s control.

Eggs are evidence, not the final verdict

Seeing eggs tells you that the queen is laying. It does not yet tell you everything about mating success or future performance. Continue to look for sealed worker brood and then allow the queen time to build a useful pattern. Only after she has laid for several weeks—ideally through more than one worker-brood cycle—does a brood pattern become meaningful evidence for assessment.

Do not diagnose too quickly

A poor-looking early brood area is not automatically evidence of poor mating. Queen quality begins before mating: larval nutrition and the conditions in which a queen developed can affect later performance. Conversely, a queen can initially lay and still later show problems if sperm quantity, genetic diversity or other factors are limiting. Read the whole sequence of evidence before deciding what has happened.

Use the colony and the weather as the guide

When a mating nucleus is late, ask practical questions. Has there been flying weather? Were mature drones likely to be available? Is the queen present? Are there eggs, sealed brood or only a very early laying pattern? These observations help you decide whether to wait, inspect again or take action.

Keep concise records

Record emergence date where known, the dates you checked, weather that may have limited flights, eggs or brood stages seen, and any action taken. These notes make it easier to learn the patterns in your own apiary without turning natural variation into a false fixed timetable.

Next read: Queen Rearing & Breeding resources
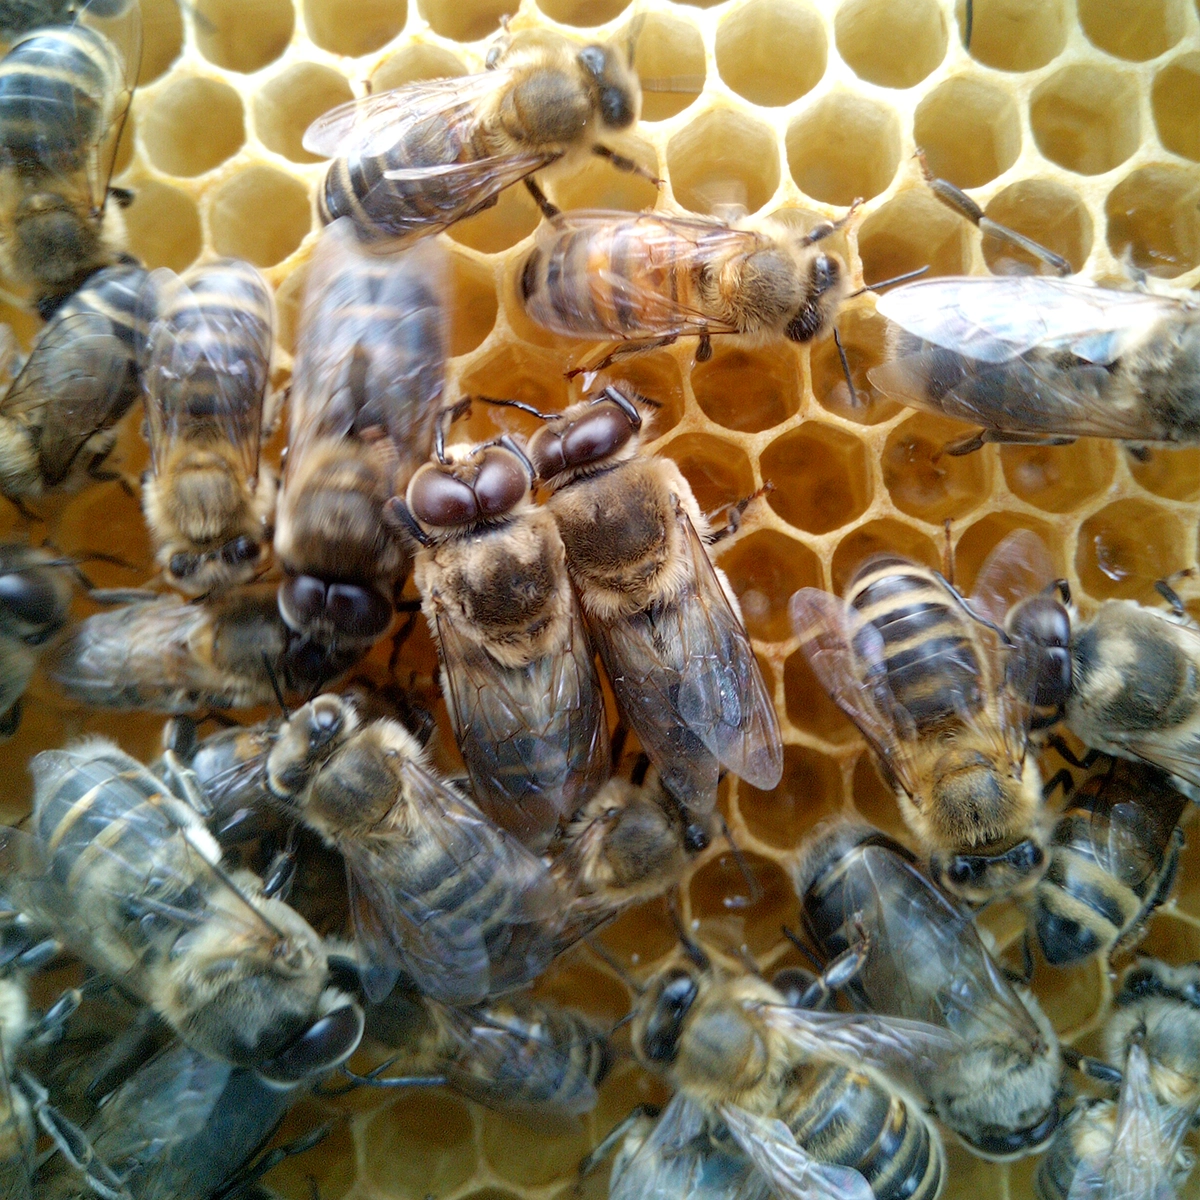
Drones on a frame of honeycomb
The Drone Side of Queen Breeding

← Back to Educational Resources

Queen breeding is often discussed through the choice of a queen mother, but every daughter colony also has a paternal contribution. The drones that mate with a queen influence the genetics of the workers she produces. If the aim is to understand or direct a breeding programme, the drone side needs as much thought as the maternal side.

Drones are part of the breeding decision

A selected queen can only pass on part of the genetics in her daughters. The rest comes through the drones she mates with. For that reason, a good queen mother does not automatically produce a predictable result if the drone population is unknown or unsuitable for the direction of breeding.

Choose drone-source colonies using the same care applied to maternal sources: look for healthy, workable colonies that perform consistently in the traits that matter. A colony that simply produces a large number of drones is not automatically the right genetic source.

Control and influence are not the same

With open mating, a beekeeper can influence the local drone population by raising drones from selected colonies. This can be useful, particularly where selected colonies are well represented nearby. It is not full control: a virgin queen may still mate with drones from a wider area.

Instrumental insemination offers a different level of control because the drone source can be chosen directly. Both approaches have a place. The useful choice depends on how much certainty the breeding question needs and what is practical in the apiary.

Plan drone production early

Drones need time to develop and then mature before they can contribute to mating. A practical planning point is around forty days from egg laying to a point when there should be a useful number of mature drones. This is a mid-point for planning, not a fixed biological deadline. Development temperature, drone genetics, colony conditions and the way the drones are managed can all move the actual window earlier or later.

Work backwards from the period when virgin queens are likely to be ready, and then look at the colony rather than relying only on the calendar. Are drones present, well cared for and in a condition that makes sense for the season and the colony?

Give drone colonies the conditions to succeed

Drone rearing places a demand on a colony. It needs enough food, a suitable worker population and good overall condition. Drones intended for breeding should not be treated as an afterthought. The quality of the colony’s care, the timing of their development and their opportunity to mature all affect whether a planned drone source is useful in practice.

Keep the record connected to the result

Record which colonies supplied the drones, when they were raised and what mating method was used. Then connect that information to the performance of the queens and daughters that result. This makes it possible to learn from a planned pairing and to distinguish a repeated pattern from a one-off outcome.

Next read: Queen Rearing & Breeding resources
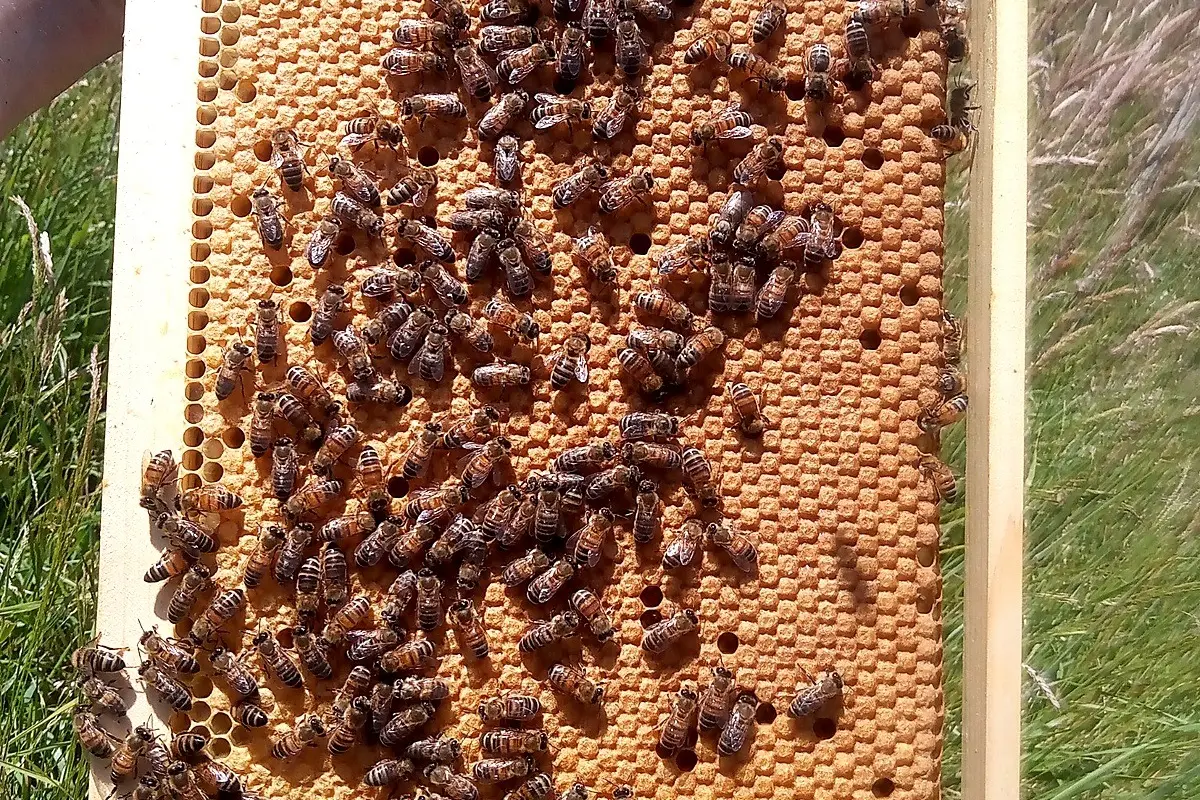
Choosing Source Colonies for Queen Rearing

← Back to Educational Resources

Choosing a colony to raise queen cells from is a breeding decision, not simply a question of which hive looks strongest today. The source colony contributes the maternal side of the next generation, so it should be chosen for the direction you want the breeding programme to take.

Start with the breeding objective

Decide what you are trying to maintain or improve. This may include survival, colony health, brood quality, temperament, sensible use of stores and space, or other traits that matter in the colonies and conditions you work with. A source colony should make sense against that objective over time, rather than being selected because of one good inspection or one exceptional honey flow.

Assess a colony as a colony

The performance you see in a hive is not produced by the queen alone. It reflects the interaction of the queen, her workers, the drones that mated with her and the environment in which the colony is being kept. Read the whole colony: its development, brood, behaviour, health and response to local conditions.

A good brood pattern is useful evidence, but it is not a complete verdict. Likewise, a calm inspection, a good crop or rapid spring growth may be valuable observations without proving that the colony is the best breeder. Look for consistency and for a pattern that fits your selection aim.

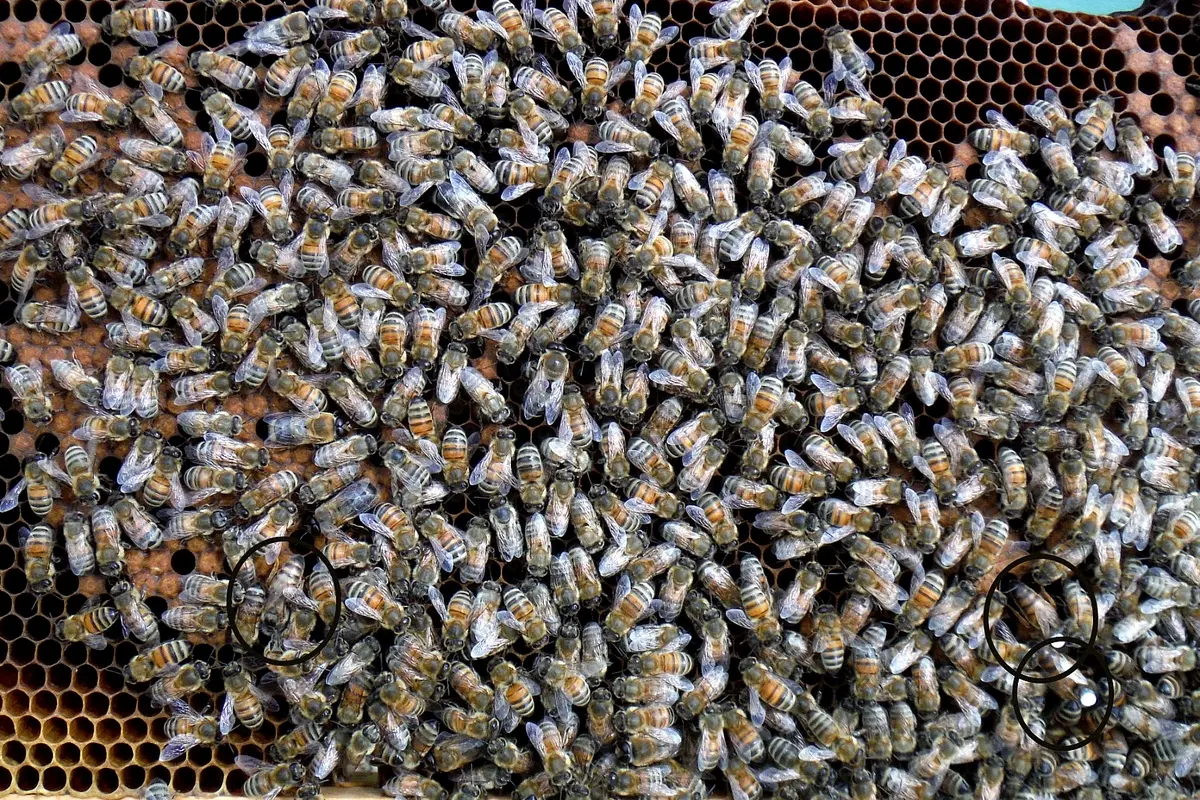
Brood frame with queen bees circled among worker bees
A brood frame is one piece of evidence to consider alongside behaviour, health and performance over time.

Keep source and rearing roles separate

The best colony to provide larvae is not necessarily the best colony to start or finish queen cells. Cell starters and finishers are chosen for their nurse-bee population, resources and ability to care for developing larvae. Breeding source colonies are chosen for the qualities you want to pass on. Keeping those decisions separate helps avoid selecting genetics simply because a colony is convenient for rearing.

Look for concerns as well as strengths

Selection is as much about recognising what should not be carried forward as it is about choosing attractive traits. Investigate persistent health problems, poor brood viability, difficult behaviour, weak recovery or other performance concerns. One unusual observation is a reason to look again; repeated evidence across time is more meaningful.

Remember the paternal side

With open mating, the drone contribution is not fully known. This does not make open-mated daughters useless, but it limits how confidently a breeder can attribute a result to a particular planned pairing. Drone selection and controlled mating can provide more influence or control where that is needed, but neither removes the need to assess the colonies that result.

Use daughters to test the decision

The most useful test of a source colony is what its daughters do. Keep clear, proportionate notes on the source, the mating context and the performance of daughters. Then use those observations to refine the breeding direction. Good selection is an ongoing process of testing, learning and choosing again—not a one-time label placed on a colony.

Next read: Queen Rearing & Breeding resources
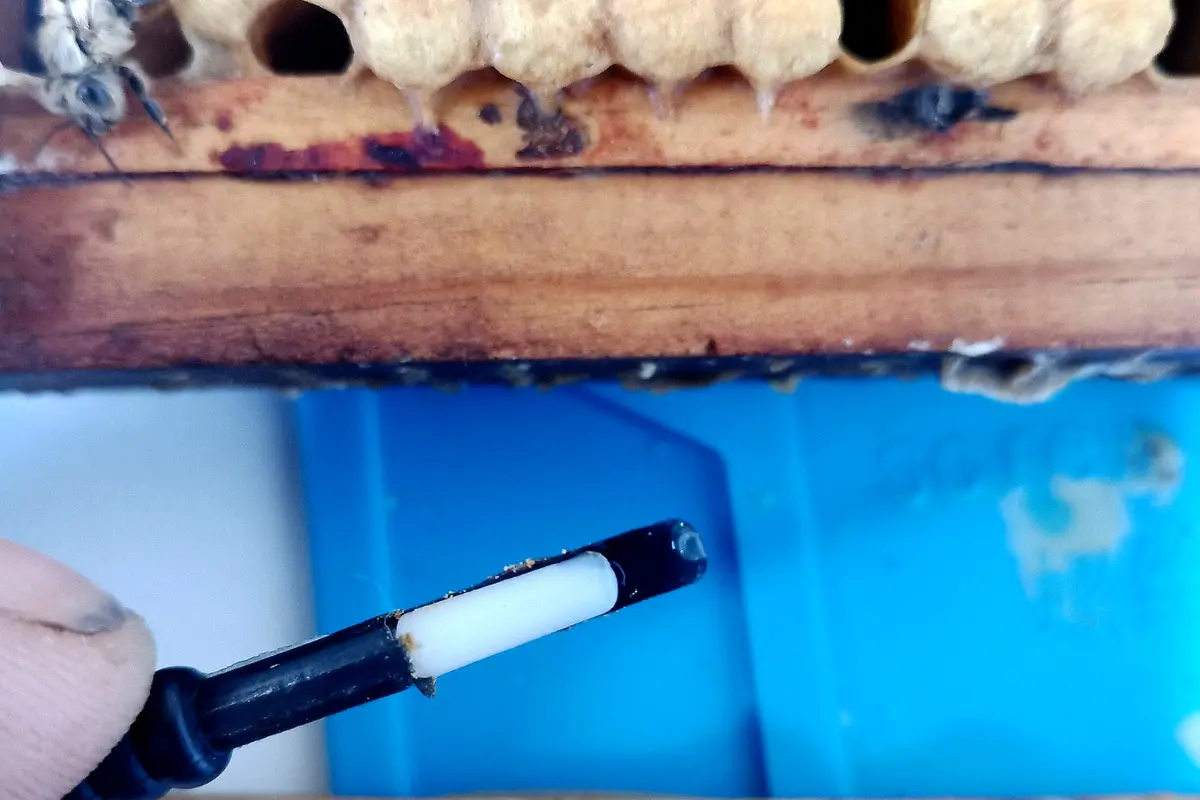
Starting and Finishing Queen Cells: What the Colony Needs

Queen rearing is not only about grafting larvae into cups. The colony must first accept those larvae as queen cells and then continue feeding and caring for them until the cells are mature. A starter and a finisher describe those two jobs. They may be separate colonies or two stages in one carefully managed system.

What a starter does

A starter gives the grafted larvae their first strong response. In the period immediately after grafting, young larvae need abundant attention from nurse bees. A successful starter is prepared so that the bees have a reason and the ability to begin queen cells: it needs a strong population of suitable bees, accessible food and a calm, workable arrangement around the graft frame.

Acceptance is useful information, but it is not the whole result. A high number of cells started does not by itself prove that the colony will finish them well or that every resulting queen will be of the same quality.

What a finisher does

Once cells are established, they still need a colony capable of maintaining the right feeding, temperature and care through the rest of larval development and pupation. A finisher provides this continuity. It needs enough nurse bees and adequate pollen and food stores, and it must remain in a condition where it can support the cells without becoming stressed or disrupted.

A queenright finisher can work well when the cells are kept inaccessible to the resident queen. A queenless system can also be used. The useful choice is the one that gives the developing cells stable, well-supported conditions and that the beekeeper can manage reliably.

Resources matter more than a recipe

There is no single number of frames, bees or grafts that guarantees good queen cells. The important relationship is between the number and age of larvae being asked for, the nurse-bee population, the amount of brood already demanding care, and the available pollen and food. A colony can look very strong and still be the wrong choice if its resources are already stretched.

The conditions experienced by queen larvae matter. Queen cells should therefore be treated as developing animals that need good care from the colony, not as units being processed through a timetable.

Reading the cells and the colony

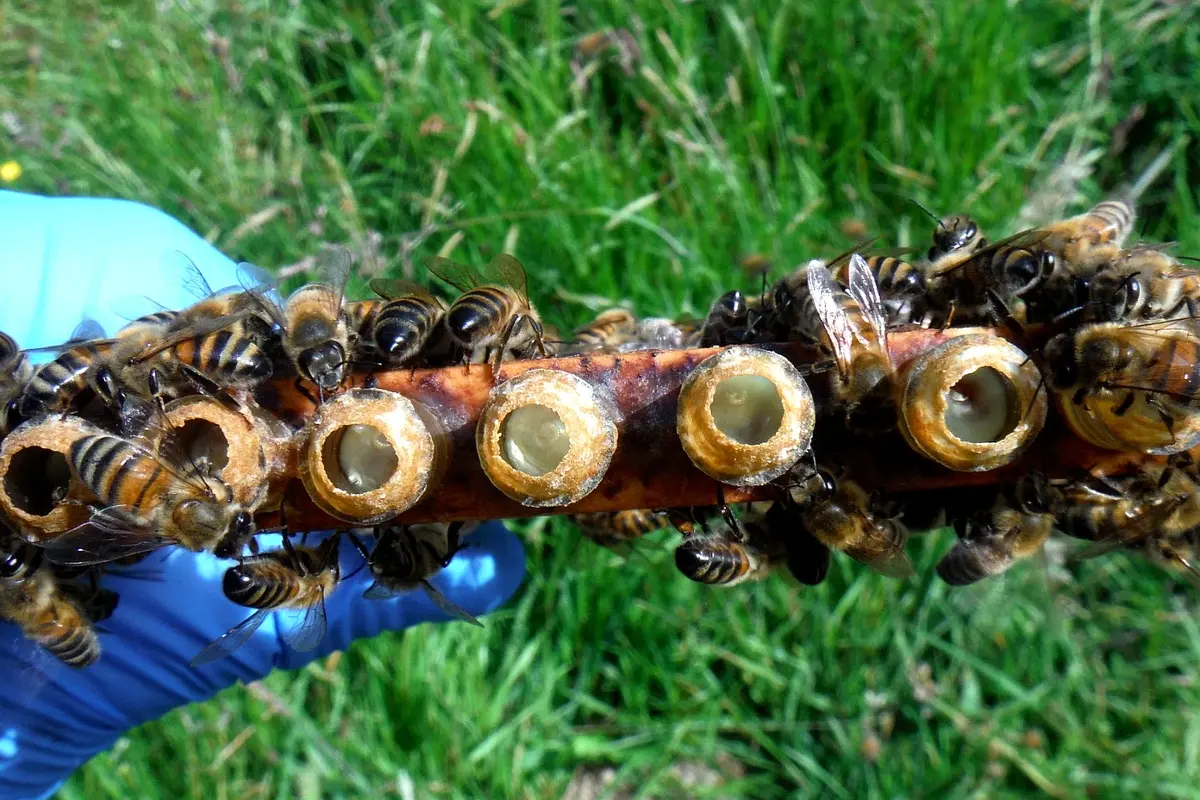
Open queen cells on a frame of honey bee comb
Cell development should be assessed in the context of the colony supporting it.

Look at both the cells and the colony supporting them. Are the cells being drawn and maintained? Is there plenty of young-worker activity around the frame? Does the colony still have accessible pollen and food, and is it behaving as you would expect? If acceptance or cell development is disappointing, use that as a prompt to review colony condition, larval age, grafting technique and the surrounding forage—not as a reason to blame one factor automatically.

A practical approach

Prepare the cell-building colony before grafting, make one clear plan for what it is expected to do, and check that expectation at the next stage. Record exceptions, actions and anything that needs a follow-up. Over time, this will teach you which colonies and arrangements consistently give your larvae the conditions needed to become queens worth keeping.

Next read: Queen Rearing & Breeding resources
How a Queen Bee Develops: From Egg to Emergence

A queen does not develop simply because a larva is put into a queen cell. She develops because the colony gives a very young female larva the cell, food, care and conditions needed for queen development. The broad timetable is useful for planning, but it is a working window—not a promise of exactly what will happen on a particular day.

From egg to queen larva

Like a worker, a queen begins as a fertilised egg. It remains an egg for about three days before hatching. The difference between worker and queen development is established through the way the larva is reared: the queen cell, larval feeding and the care provided by the worker bees all matter.

When grafting, the age of the larva matters. Use very young larvae so the colony can continue queen development from an early stage. A larva that is already too old will not give the colony the same opportunity to raise a well-developed queen.

A practical development window

Open queen cells on a frame of honey bee comb
Queen cells are part of the colony’s development process; their condition and timing both matter.
StageUseful planning guide
Egg laid to hatchingAbout three days.
GraftingUse a very young larva, commonly around the point at which it has only recently hatched.
Graft to cell sealingAllow roughly five days as a guide.
Sealed cell to emergenceAllow roughly a week, while treating emergence as a window rather than one fixed date.
Egg to emergenceUsually planned around sixteen days, with a margin either side.

These figures are planning aids. Development temperature can shift the timetable: incubator work has shown that changes in temperature alter the emergence window. The genetic background of the queen and the quality of care from the colony also matter. When several cells are due, allow for queens to emerge over roughly a day rather than assuming they will all emerge at one exact time.

Emergence is not the end of development

An emerged virgin queen is not immediately ready to mate. She needs time to mature, orientate and, if conditions allow, take mating flights. A useful practical guide is that sexual maturity may be reached after several days, but the point at which she mates and begins laying depends on weather, drone availability, genetics and the way she is cared for.

In good conditions a queen may be mated and laying within a relatively short period after emergence. Prolonged poor weather can delay the process considerably. Plan checks as ranges: look for evidence of laying around two weeks after emergence, and assess what you find in the context of the weather and whether you can see the queen.

Use the timetable to ask better questions

The purpose of a queen-development timetable is not to force colonies into a calendar. It helps you decide when a cell should be handled carefully, when an emergence is plausible, and when a virgin queen or mating nucleus needs attention. Record the stage, anything unexpected and what you expect to see next; then let the colony and the conditions tell you whether that expectation was sound.

Next read: Queen Rearing & Breeding resources