First Inspections: What to Look For

A first inspection is not a test that you either pass or fail. Its purpose is to begin learning what a colony looks and feels like when it is going about its normal work, and to notice when something needs closer attention. Keep the first visit calm and purposeful. You do not need to find every answer at once.

Before you open the hive

Watch the entrance for a moment. Are bees flying purposefully, carrying pollen, bringing in nectar or making short orientation flights? A quiet entrance is not automatically a problem, and a busy entrance is not automatically proof that all is well. It is simply your first piece of information. Notice the weather too: a warm, calm day makes inspection easier for both you and the colony.

Look for the colony’s overall condition

Once the hive is open, take a moment before lifting frames. Is the colony covering the frames well for the time of year? Does it seem settled, or unusually defensive, noisy or agitated? Are there signs of damp, mold, pests or robbing? The aim is to build a picture rather than react to one isolated detail.

Brood: the clearest sign of direction
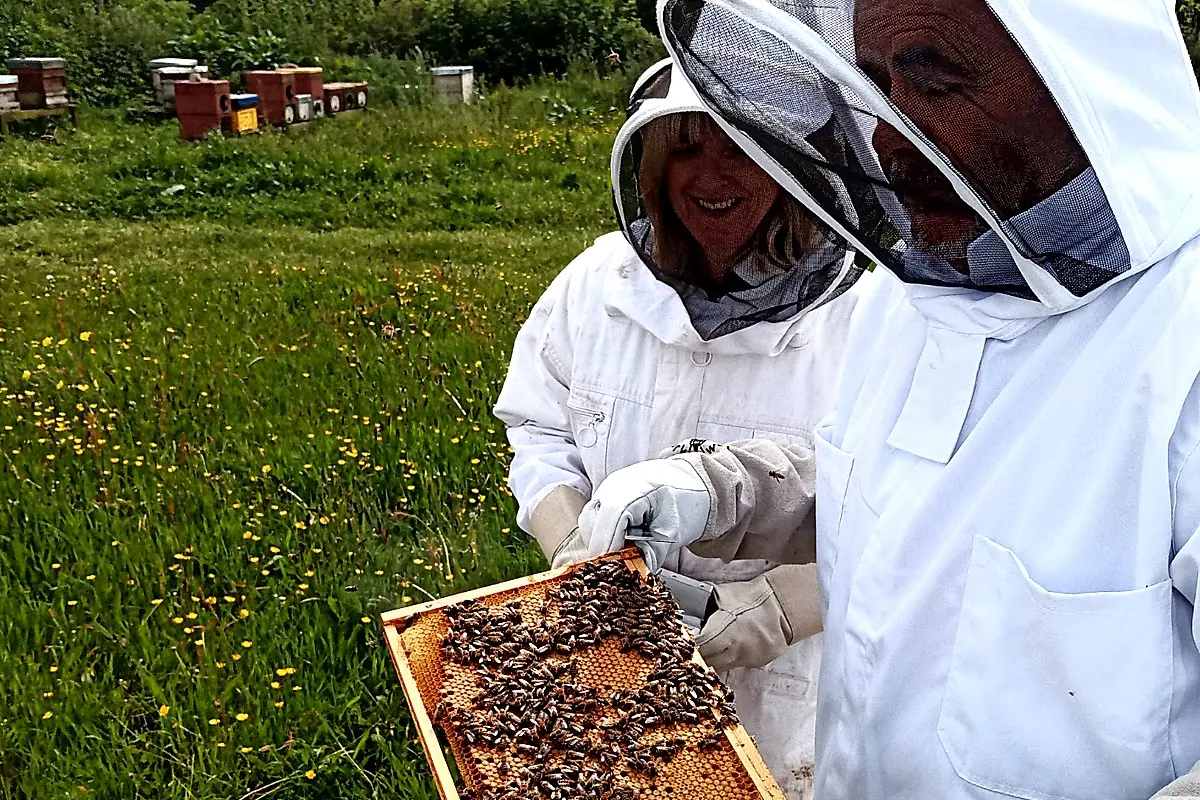
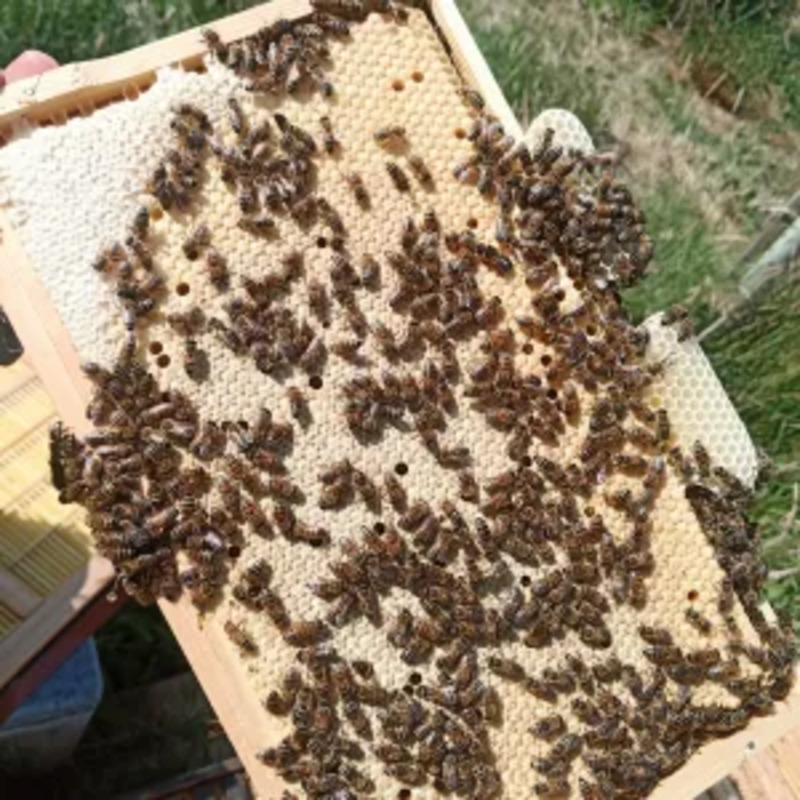
Two beekeepers examining a frame of honey bees in an apiary
A purposeful inspection is guided by the evidence in the colony.

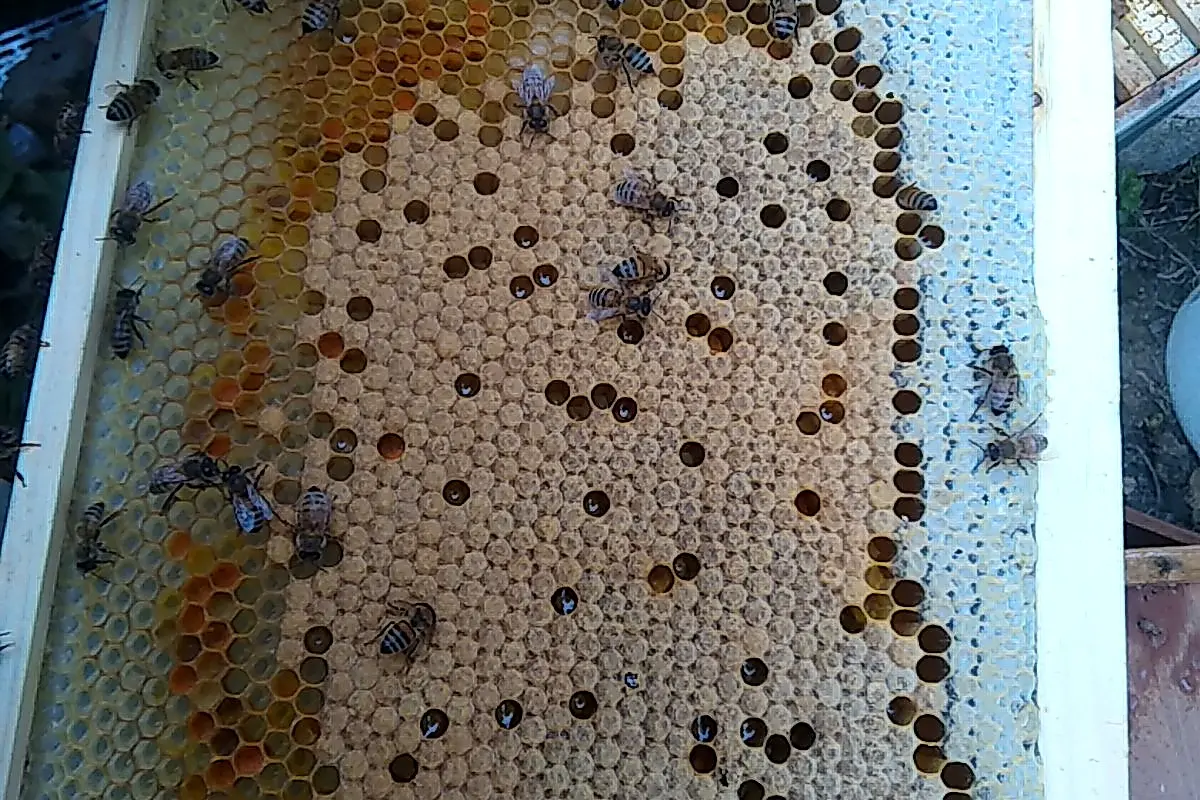
For a new beekeeper, the most useful question is often whether the colony is raising brood in a way that makes sense for its size and the season. Look for eggs, open larvae and capped brood. You do not have to find the queen every time; seeing eggs tells you that a queen has been laying very recently.

A good brood pattern is not necessarily a perfectly solid block. Colonies are living systems, and patches of pollen or stores within the brood area can be normal. What matters is whether the brood looks broadly coherent and whether you can explain what you are seeing. If something appears uneven or unusual, make a note and look again at the next inspection rather than jumping immediately to a conclusion.

Stores, space and comb

Check that the colony has food around it. The amount of honey or syrup stores needed depends on weather, forage and colony size, so there is no single number that suits every hive. Pollen matters too: it is the protein source used to rear brood. Consider whether the bees have enough usable space, rather than simply counting empty frames. A small colony in a large cold box can struggle just as much as a crowded colony can run out of room.

What to record

Keep a short record after each inspection: date, weather, colony temperament, brood stages seen, stores, space, anything unusual and what you decided to do next. A few clear notes are far more useful than trying to remember everything. They let you compare one inspection with another and make decisions from the colony’s own pattern, not just from someone else’s expectation.

Keep the first inspections simple

Try to leave the colony as calmly as you found it. Work steadily, replace frames in the same order and avoid holding the hive open longer than necessary. With experience, you will notice more. At the beginning, the important thing is to become familiar with normal colony activity and to give yourself a reliable basis for asking better questions.

Advice is most useful when it helps you understand the reason behind an action. If someone recommends that you do something, ask what they are seeing in the colony and why that response suits the circumstances. Beekeeping is built on observation and judgment, not on following a fixed script.
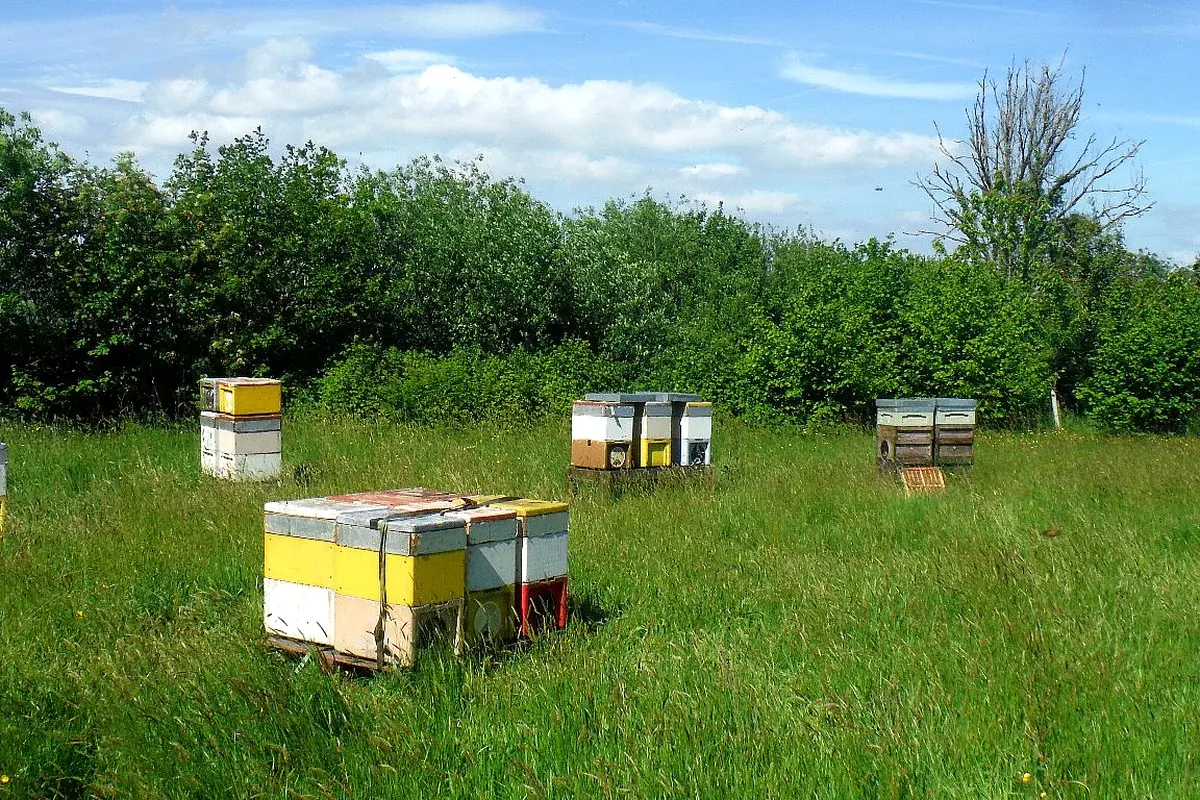
Beehives in an apiary setting
Preparing Your Apiary Site & Hive

Before a colony arrives, prepare a place where you can look after it consistently and without unnecessary disturbance. There is no perfect apiary site for every situation. The useful site is one that works safely for you, the colony and the people around it.

Choose a place you can use well

Think first about access. You need to be able to reach the hive in ordinary weather, carry equipment safely and work around it without rushing. A site that looks ideal but is awkward to visit can make routine care harder. Allow enough room to put down a roof and work calmly during an inspection.

Consider flight paths and neighbours

Watch where bees are likely to leave and return to the hive. Avoid placing the entrance directly across a regularly used path, doorway, seating area or boundary where people stand close by. Hedges, fences and planting can help lift the flight line, but each garden and apiary is different. The aim is to reduce avoidable conflict, not to follow a single rule about direction.

Weather, shelter and surroundings

Colonies benefit from a dry, stable position with reasonable shelter from persistent wind. Sun can be useful, particularly in cooler periods, but it is only one part of the picture. Observe how the site behaves through the day: where water sits after rain, where wind funnels, whether vegetation blocks your approach and how hot the hive becomes in still summer weather.

Set the hive up securely

Use a firm, level stand that keeps the hive off wet ground and lets you work at a comfortable height. Assemble the hive before the colony arrives, checking that the floor, brood box, roof and frames are compatible with the nuc you are collecting. Make sure the roof is secure and that the hive will not rock or shift when you lift a box or inspect frames.

Have an arrival plan

Know where the nuc will be placed and how you will move its frames into the prepared hive, if that is the plan. Have the smoker, hive tool and protective clothing ready before you begin. On arrival, keep the work simple and calm. A newly moved colony needs time to orientate and settle; avoid turning the first day into an extended inspection unless there is a clear reason.

A short readiness check

  • The hive is assembled, stable and weatherproof.
  • The frames and box format match the colony you are receiving.
  • You can approach and work around the hive safely.
  • The flight path is unlikely to cause an avoidable problem for people nearby.
  • You have your protective clothing, smoker, hive tool and a simple plan ready.

Good preparation does not guarantee every outcome, but it gives the colony a secure start and gives you the conditions to observe and respond well.

Next read: First Inspections: What to Look For

Beekeeping equipment
Essential Beekeeping Tools & Clothing

You do not need a large collection of specialist equipment to begin keeping bees. A small number of well-chosen items will help you work calmly, safely and with a clear purpose. Add equipment when you understand the problem it is intended to solve.

Protective clothing

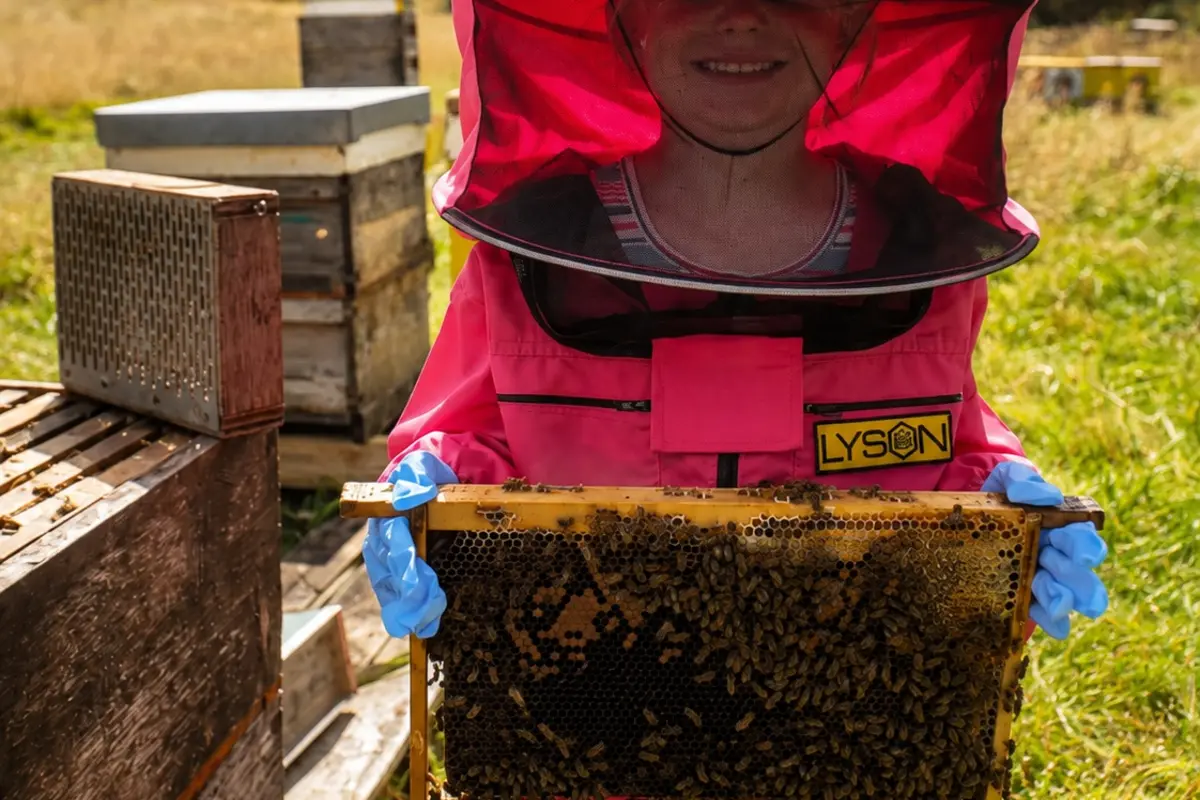
Beekeeper wearing a protective veil and suit while holding a frame of comb
Well-fitting protective clothing allows a beekeeper to see, move and handle frames comfortably.

A well-fitting bee suit or jacket with a secure veil is the starting point. It should allow you to see clearly and move easily while keeping bees away from your face, wrists and ankles. Gloves can be useful, particularly while you are gaining confidence or when a colony is defensive, but thick gloves reduce feeling and can make delicate frame handling clumsy. Choose protection that lets you stay calm and work carefully.

A smoker

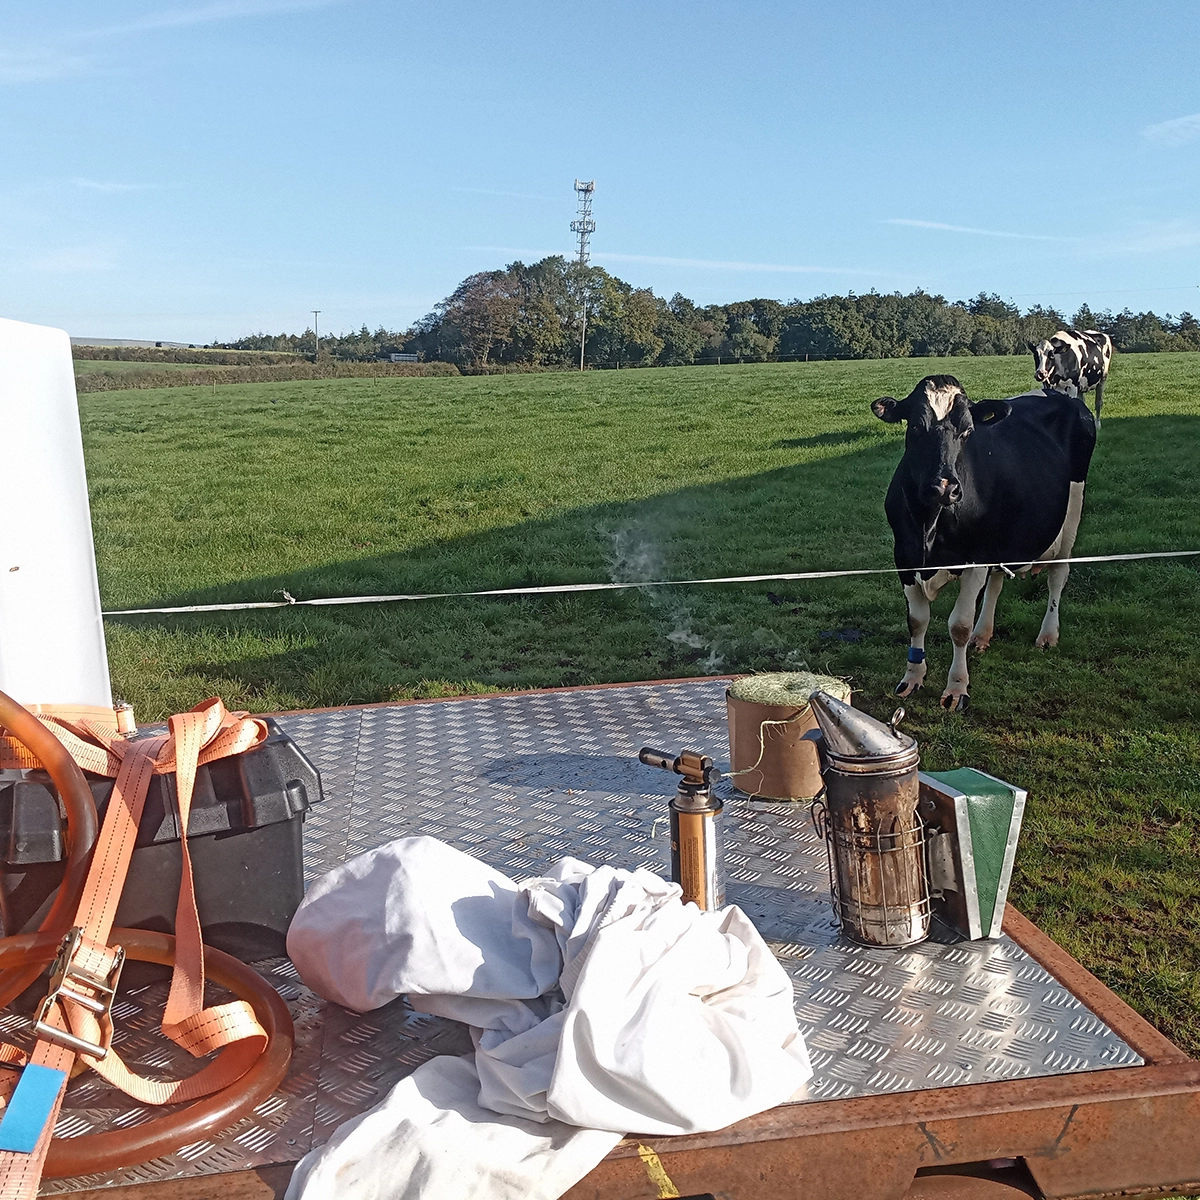
A smoker is an important tool, not something to use automatically. Cool, clean smoke can help make an inspection more manageable, but it does not replace calm movements, gentle handling or choosing suitable weather. Learn to light and maintain it safely before opening a hive, and make sure it is fully extinguished afterwards.

A hive tool

Frames and hive parts are often stuck together with propolis. A hive tool lets you separate them with control rather than forcing them apart. One simple, sturdy tool is enough at first. Keep it clean enough to use safely and avoid leaving it where it can be lost in the grass.

Something to record with

A notebook or simple phone record is useful for short notes: what you noticed, what you expect to see next time, and anything that needs follow-up. Do not feel obliged to turn every inspection into a frame-by-frame inventory. The purpose is to help you recognise the colony’s own pattern and remember exceptions or decisions.

Useful spares

As soon as practical, keep a few compatible spare frames and a spare box, floor or roof available. They give you options when a colony needs more room, a part is damaged or an inspection reveals something unexpected. Buy spares that match the hive system you have chosen; compatibility matters more than accumulating equipment.

What can wait

Extractors, wax-processing equipment, specialist feeders and other accessories may become useful later, but they are not all needed at the beginning. If you expect to take honey, choose or borrow an extractor appropriate to the number of colonies and the frames you use when the time comes. Pre-made equipment can save time; simple jobs you understand and can do safely may be made or repaired yourself. The useful question is whether an item will help you care for the colony well now.

Keep the focus on the colony

Good equipment supports good beekeeping; it does not make decisions for you. Start with clothing that gives you confidence, a smoker, hive tool, a way to make short notes and compatible spares. The rest can follow as your colonies, knowledge and practical needs develop.

Next read: Preparing Your Apiary Site & Hive

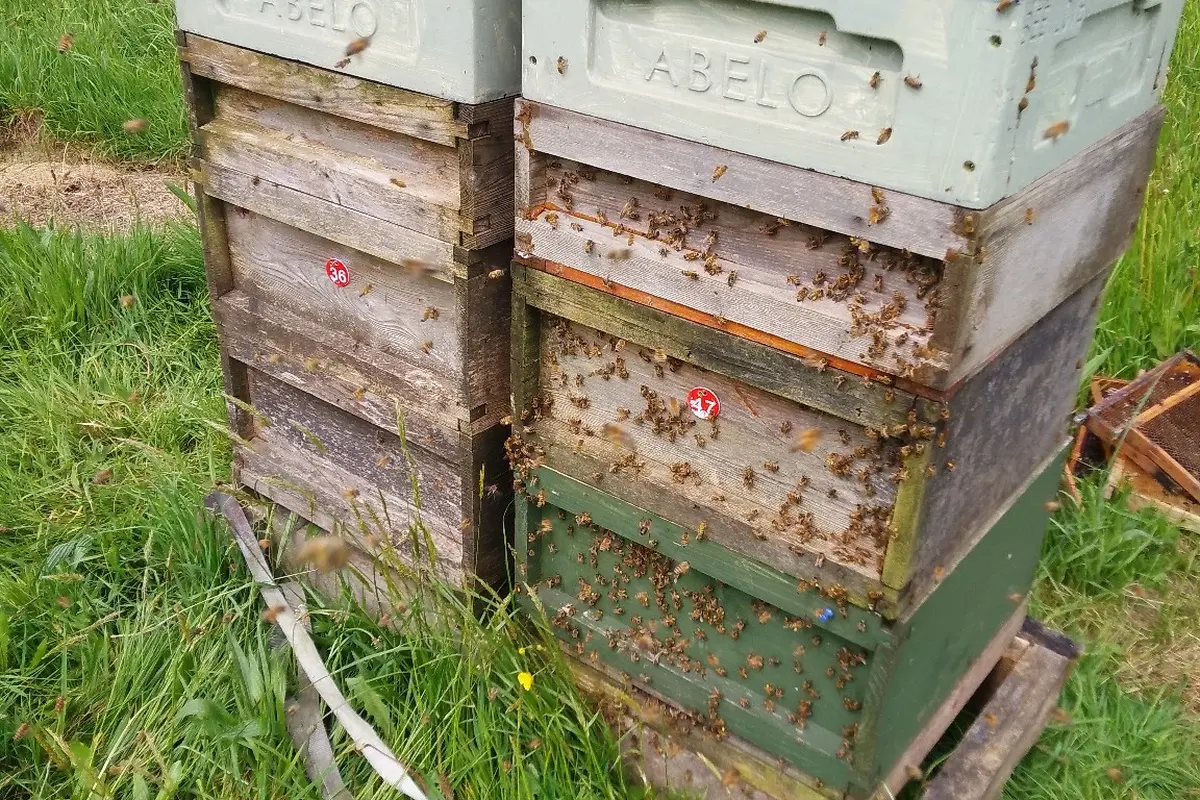
Two beehives in an apiary
Choosing Your First Beehive

There is no single “best” hive for every beekeeper. A useful first choice is one that is compatible with the colony you are buying, practical for you to handle and easy to keep standardised as you add equipment.

Choose a system, then standardise

Start by checking the frame type and dimensions of the nucleus colony you plan to buy. Your hive needs to take those frames properly. Once you have chosen a system, keep boxes, frames, floors, roofs and spare parts compatible. That makes inspections, moving frames, adding space and keeping spares much simpler.

National and Langstroth

The British National is common in the UK, with parts available from several suppliers. Langstroth hives are also widely used and can be a good option, particularly when the colony you are buying is already on Langstroth frames. Other systems can work well too. The important point is not to force a colony from one frame format into another simply because a different hive looks preferable.

Think about practical handling

  • How much a full box and its frames will weigh for you.
  • The height of the hive and the room you have to work around it.
  • Where you will keep spare boxes, frames and floors.
  • Whether compatible equipment and nucleus colonies are readily available locally.
  • Whether the equipment is sound, weatherproof and easy for you to maintain.

Wood or polystyrene

Both wooden and polystyrene hives can be used successfully. Sound, weatherproof equipment matters more than material alone. Check that parts are intended to work together: dimensions can vary slightly between makes, particularly with polystyrene components.

Avoid false economy

Second-hand equipment can be useful, but inspect its condition and compatibility carefully. Make sure it can be cleaned and maintained. A small set of sound, matching equipment is usually more useful than a collection of inexpensive parts that do not fit together.

Start simply

A basic hive that matches your nuc, suitable protective clothing and a few essential tools are enough to begin. Add sensible spares as budget allows. You do not need specialist equipment at the outset; the hive should support good observation and management rather than create unnecessary complications.

Next read: Essential Tools & Clothing

Two beehives in an apiary
Overwintered Nuc or Spring Nuc?

Both overwintered and spring nucs can be good ways to start keeping bees. The useful choice is not about one being universally better: it is about the colony’s stage of development, the time you have available, and what you need from your first season.

What is an overwintered nuc?

An overwintered nuc has come through winter with its queen. By spring, it is an established queenright colony and the bees present are normally her progeny. It has already faced winter conditions, and when well managed it can begin expanding as spring conditions improve.

That established workforce can give an overwintered nuc a head start. It may be ready to develop quickly, so it still needs timely observation, sufficient space and attention to stores. Overwintered nucs are often scarcer and may cost more, reflecting the time, risk and resources involved in carrying a colony through winter.

What is a spring nuc?

A spring nuc is made during the same season. It can be a well-made, healthy colony, but it is at an earlier stage of development. The queen may have begun laying recently, and some of the original workers can come from the colony that supplied the bees and comb.

In favourable weather with good forage, a spring nuc can build surprisingly quickly. It also needs patience: its population, brood area, comb use and stores can change rapidly, while the original older workers are gradually replaced by the queen’s own progeny. The pace depends on weather, forage, queen laying rate and the colony’s condition.

The practical difference

An overwintered nuc usually gives a more established starting point early in the season. A spring nuc generally gives a younger colony that needs time to become established. Neither description is a guarantee of quality, strength or outcome. A carefully made spring nuc may suit a beekeeper very well; a strong overwintered nuc may be the better fit for someone wanting a more advanced early-season start.

Ask about the colony, not just the label

  • When was the colony made or established?
  • When was the queen introduced or confirmed laying?
  • How long has the colony been developing on its current frames?
  • What brood stages, bees and stores are present now?
  • What hive system are the frames designed for?

A practical guide is that a newly made colony may take around two brood cycles — roughly six weeks — to be made predominantly of the queen’s own progeny. Treat that as a working range, not a deadline. Good conditions can speed growth; poor weather or limited forage can slow it considerably.

Choose the colony that suits your situation

Whichever you choose, plan for calm inspections, compatible equipment, enough food and appropriate space. A nuc is a living colony, not a finished product. The best start comes from understanding its condition, responding to what it needs and giving it the time to develop.

What Is a Nucleus Colony?

A nucleus colony — usually shortened to a nuc — is a small, functioning honey bee colony supplied on its own frames. It is often the most practical way for a new beekeeper to start, because it contains the beginnings of a working colony rather than a loose collection of bees.

What a well-established nuc contains

Honey bee nucleus colonies at Bishop’s Bees
A nuc is a small, functioning colony supplied on its own frames.

A nuc is normally made up of five or six frames, depending on the system being used. It should have a laying queen, workers, brood in different stages, and appropriate pollen and food stores. The exact balance varies with the season and the colony’s size, but the important point is that the bees, brood and queen form a coherent colony that is already developing.

In an established nuc, most of the workers will be the progeny of its queen. That matters because it shows that the queen has been laying and the colony is functioning around her. It is more informative than simply knowing that a queen has been placed into a box of bees.

A nuc is not just another name for a split

New colonies are often made by splitting bees and comb from an existing colony. This is a normal and useful beekeeping method, and a split can develop into a good nuc. However, a recently made split with a newly introduced queen is at an earlier stage of development than a colony that has had time to establish around her.

That does not make one automatically better than the other. It explains why it is sensible to ask clear questions about what you are buying: when was the colony made, when did the queen begin laying, and how long has the colony been developing as a unit?

Overwintered and spring nucs

An overwintered nuc has come through winter with its queen, so the bees present are normally her progeny. A spring nuc may have been made more recently, and can still include older workers from the colony it came from while the new queen’s brood develops. Neither description tells you everything about quality; it tells you something about the colony’s stage of development.

As a practical guide, a new colony often needs around two brood cycles — roughly six weeks — to become established predominantly around the queen’s own progeny. This is a guide, not a deadline. Weather, forage, queen laying rate and colony condition all affect the pace.

What to look for when choosing a nuc

  • A queen that is present and laying, with a sensible progression of brood stages.
  • Enough bees to cover and care for the brood for the time of year.
  • Food and pollen stores in a condition that makes sense for the season.
  • Frames that suit the hive system you intend to use.
  • A clear explanation of the colony’s history and current development.

Settling the colony into its new hive

Once home, a nuc needs to be transferred into compatible equipment, given an appropriate amount of space and allowed to settle. The next steps depend on its strength, the weather, available forage and the time of year. A smaller colony may need more careful support than a strong one, but it should still be managed by reading what it is doing rather than by a fixed timetable.

A good nuc gives you a clear starting point: a queenright colony on known comb, with enough history to understand what you are taking on. The next guide compares the strengths and practical differences between overwintered and spring nucs.

What Does Keeping Bees Involve?

Keeping bees is rewarding, practical and fascinating, but it is not a way of simply putting a hive in the garden and leaving it to look after itself. A honey bee colony is a large, changing population of living insects. The beekeeper’s job is to understand its condition well enough to provide appropriate care, recognise when something needs attention and avoid unnecessary disturbance when it does not.

It is a year-round responsibility

Bees are active in different ways throughout the year. In spring and summer colonies may build quickly, gather food, raise brood and prepare to reproduce. Later in the season the focus changes towards health, adequate stores and a colony that can come through winter. There is no single weekly routine that fits every colony. Weather, forage, local conditions and colony strength all change what you are likely to see and what may be required.

Inspections are about understanding, not just looking

During the active season, hives need purposeful inspections. You are looking at brood, food, space, the condition of the comb and the colony’s behaviour as a whole. With experience, these observations help you predict what is likely to happen next. An inspection should have a reason: perhaps to check whether the colony has sufficient food, whether brood is developing sensibly, whether it has room to work, or whether a previous decision has had the expected result.

The aim is not to turn every visit into a long list of numbers. A useful record might simply note anything unexpected, what you did and what needs checking next. Over time, this builds the confidence to recognise what is normal for your own colonies and your local conditions.

Bee health and welfare come first

Keeping bees means taking responsibility for colony health. Learn to recognise the signs that a colony may be under stress, understand the importance of varroa management, and keep up to date with the official disease, movement and treatment guidance that applies where you keep bees. Good hygiene, sensible equipment management and timely observation are part of normal beekeeping, not separate extras.

There is practical work as well as hive work

A colony needs a suitable apiary site, sound equipment, protective clothing, food when conditions make it necessary, and enough time for calm inspections and any follow-up work. You will also need to think ahead: arranging space before a colony becomes restricted, making preparations for winter, and having a sensible plan for swarming or a queen failure. Some seasons are straightforward; others require more attention than expected.

Learn the reasons behind the advice

There is plenty of beekeeping advice available, and much of it can sound like a fixed rule. It is more useful to ask what the person is seeing, what they think it means and why their suggested action fits those circumstances. A good explanation helps you make a better decision when the conditions are different next time.

Before buying bees, give yourself time to learn the basics, see colonies being inspected and consider whether the ongoing commitment suits you. Starting with sound knowledge makes the practical side far more enjoyable — and gives the bees a better chance of being managed well.

Next: explore the Getting Started resources, including how to choose a suitable nucleus colony.