Archives October 2026

Beekeeping equipment
Cleaning and Maintaining Beekeeping Equipment

Maintaining beekeeping equipment happens in two different settings. During the season, you keep the parts in use working cleanly and safely. Between jobs, seasons or apiaries, you decide what can be reused, what needs repair, what needs cleaning or sterilising, and what must not be moved at all. Treating those as separate tasks makes the work more practical and improves biosecurity.

Routine care while equipment is in use

Bees naturally coat their home with wax and propolis, so a working hive does not need to look clinically clean. The aim during inspections is to prevent build-up from interfering with use. Keep frame lugs, top bars and box rebates clear enough that frames lift and return without force. Remove loose brace comb and any wax or propolis that stops boxes sitting properly, but do not chase every trace of propolis: it is part of the colony’s own sealing and arrangement.

Keep the hive tool, smoker and protective clothing reliable. Scrape the hive tool when it becomes heavily coated; empty the smoker once cold, clear ash from its air path and check its bellows, lid and fuel arrangement. Wash or repair protective clothing as required and replace split gloves or damaged veil fastenings. The point is not appearance; it is calm, dependable work around colonies.

Work to an apiary unit

In routine commercial management, it is practical to treat the colonies in one apiary as a working unit. Hives share an environment and bees may drift or rob, so it is rarely realistic to act as though every colony is completely isolated. Within a healthy apiary, equipment can therefore be managed and used as part of that apiary’s system, while still keeping sensible records of where combs, boxes and queens have come from.

The stronger boundary is between apiaries. Hive tools, gloves, boxes, feeders, floors and other used equipment should be cleaned before they move to another site. Keep equipment awaiting cleaning separate from clean, ready-to-use equipment. This simple distinction makes it easier to avoid bringing an unseen problem from one location to another.

There is an important exception: if you see brood or adult-bee signs that you cannot explain, do not use the usual assumption that the rest of the apiary is clear, and do not move colonies, comb, honey or equipment from the site. Set affected material aside and seek appropriate advice before deciding how it is dealt with.

Cycling equipment out of use

When frames, boxes or other parts come out of use, give them a deliberate assessment rather than stacking them somewhere for later. Ask whether the item is still structurally sound, whether it can be repaired, whether it needs ordinary cleaning before storage, or whether it should be removed from the working system altogether.

Older brood comb is often removed as part of planned comb renewal. Record its origin and reason for removal. Do not treat all old comb alike: comb removed because it is worn or no longer useful is different from comb associated with an unexplained colony problem. Frames with damaged lugs, broken foundation, poor spacing or badly distorted comb can be dealt with before the next active period, rather than becoming an awkward decision during an inspection.

Boxes, floors, crownboards, feeders and queen excluders should be checked for loose joints, warping, damaged surfaces and parts that no longer fit correctly. Repairing or replacing an item while it is out of service is usually quicker and less disruptive than improvising when a colony needs space.

Cleaning, sterilising and storage

Cleaning removes wax, propolis, debris and dirt so that equipment can be assessed, stored and used properly. Sterilising or disinfecting is a different task, used where disease is known or suspected, or where equipment has an uncertain history. The method needs to match the material and the reason for doing it; ordinary scraping and washing are not a substitute for a disease-control procedure.

Follow current National Bee Unit guidance and product instructions for any cleaning or disinfection method. Keep stored equipment dry, protected from bees and pests, and clearly separated by status: clean and ready for use, awaiting cleaning, or isolated pending a decision. That avoids the common problem of a sound spare box being mixed with material that has not yet been checked.

Set up the next job

A short reset after each visit makes the system easier to run: return tools together, note anything that needs repair, and put removed equipment into the correct stream rather than the nearest pile. Good maintenance is not about making every piece of timber look new. It is about reliable equipment, clear separation between apiaries and enough information to make the next decision confidently.
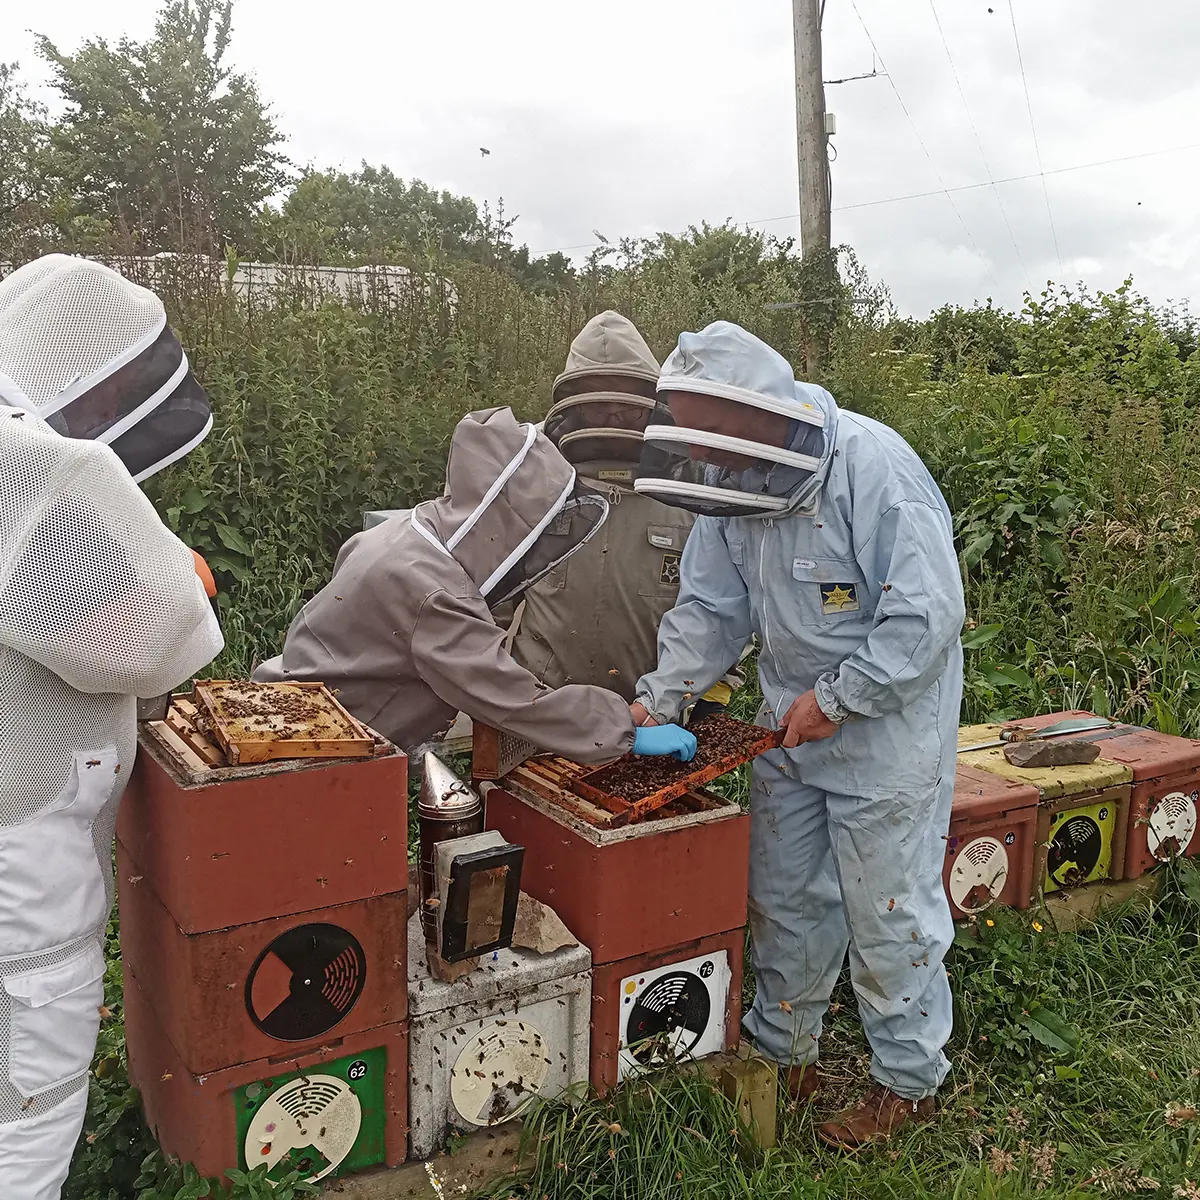
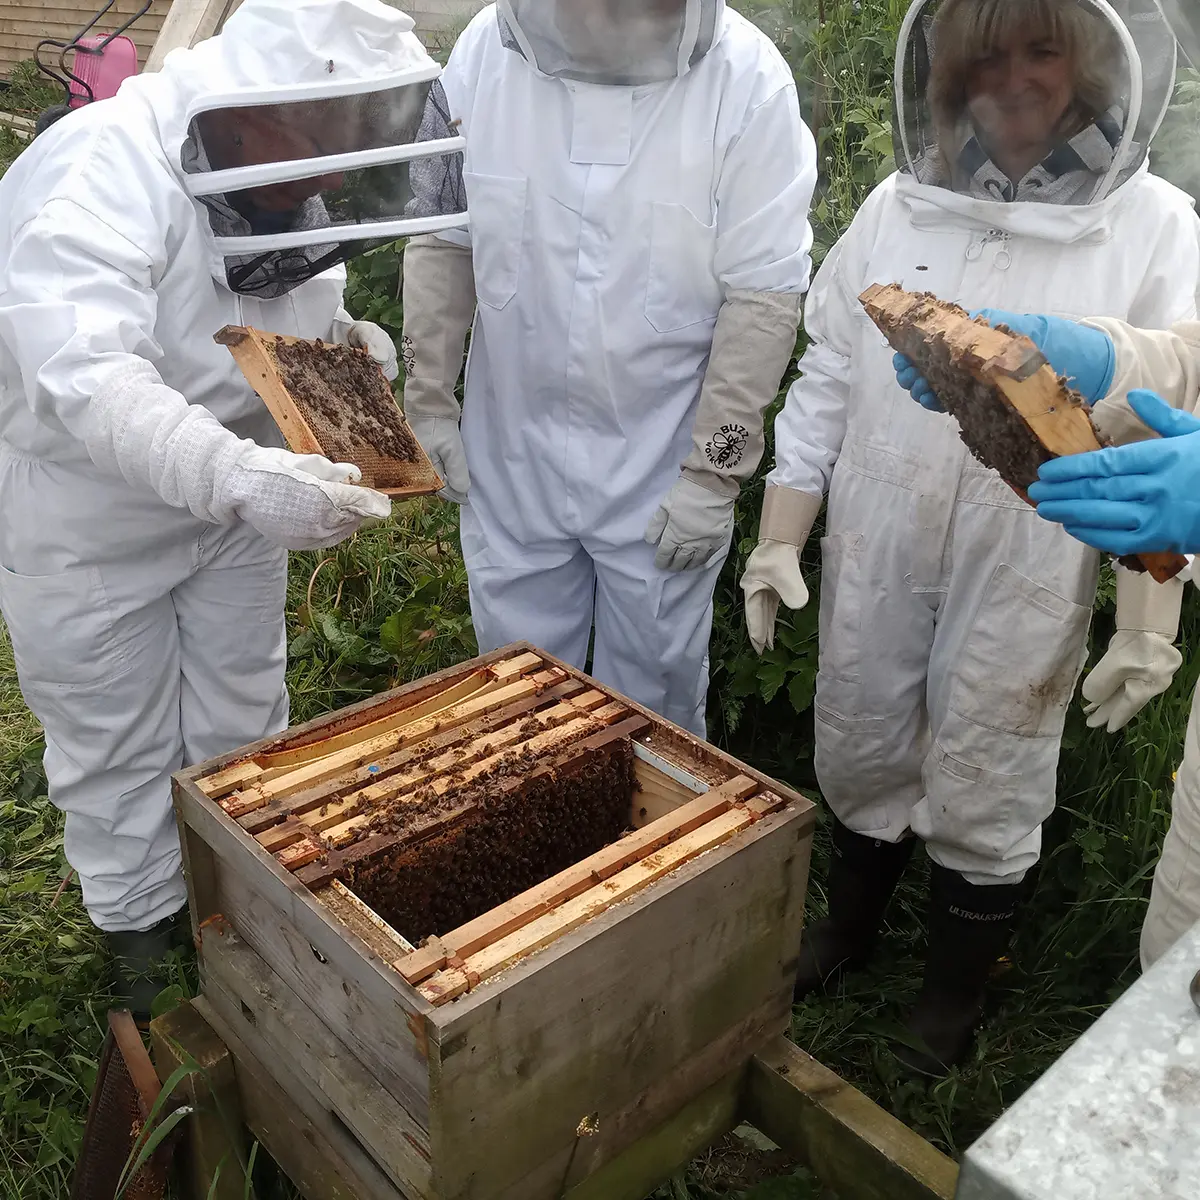
Beekeepers inspecting hive boxes
Adding Space: When and Why

Adding space is not a routine calendar task. It is a response to what a colony is doing and what it is likely to need next. The useful question is not “when do I put another box on?” but “what sort of space is becoming limited, and can this colony use more space now?”

Different kinds of space

A colony may need room to rear brood, receive and process nectar, store honey or simply move through the hive. These are related, but they are not identical. A box used for surplus honey above the brood nest is serving a different purpose from an extra brood box or a shallow box used as brood space in a brood-and-a-half arrangement.

Start by identifying the constraint. Is the brood nest genuinely becoming crowded? Are workers bringing in enough nectar that they need somewhere to put it? Or is the colony still small enough that opening up more space would make it harder for the bees to keep the nest warm and organised?

Read the colony, then look ahead

At inspection, look at how the colony is using the comb already available. A growing brood nest, occupied combs close together and incoming forage can all suggest that more usable room will soon be needed. The forecast and the forage situation matter too. A strong nectar flow can change the colony’s needs quickly; a cold spell or a break in forage can make extra empty space a burden rather than a benefit.

Make a practical prediction: if the colony continues at roughly this pace, what will you expect to see next time? That develops better judgement than adding a box simply because a particular date has arrived.

Adding brood space

Brood space is needed when the queen and workers are running out of suitable comb in the brood nest. The choice depends on the hive system and the management approach: it might mean giving access to another brood box, using a brood-and-a-half arrangement, or replacing poor comb with drawn comb where appropriate.

Look closely at the edge of the brood area. Brood becoming tight against pollen and stores can indicate that suitable laying space is becoming limited. That is different from simply having empty comb somewhere else in the hive: the position and usefulness of the comb matter.

Do not assume that adding brood space will solve every sign of congestion or prevent swarming. Swarming is a colony-level process influenced by many conditions. Extra room may be useful, but it is not a substitute for inspecting properly, recognising queen cells and deciding what response fits that colony.

Adding honey-storage space

A honey super is a box being used to collect surplus honey above the brood nest. Add it when the colony is strong enough to occupy and defend it, and when there is a realistic prospect of incoming forage. Drawn comb is immediately useful to bees during a flow; foundation needs to be drawn before it can become storage space.

A queen excluder is often used to keep brood out of a honey super, but it is a management choice rather than a requirement. Whichever arrangement you use, make sure the colony can move freely through it and that the boxes match the equipment system.

A super is not a substitute for assessing the brood nest. A colony may have room above for incoming nectar while the queen’s usable laying area is still being restricted by the arrangement of pollen and stores around the brood.

Avoid creating unusable volume

More hive volume is not always more useful space. A small colony may struggle to occupy a large empty box, particularly in cool or unsettled conditions. Similarly, a super put on long before forage arrives may simply become empty space the colony has to manage. Give the bees room they can use, not room that only looks reassuring to the beekeeper.

Check the result

At the next inspection, see how the colony has responded. Is it drawing comb, expanding the brood nest or storing nectar in the new space? Has the expected forage arrived? If not, that is useful information, not a failure. It helps you refine the prediction you make before the next visit.

Adding space is most effective when it follows observation and is checked afterwards. The aim is not to make every hive look the same, but to give each colony enough useful room for the conditions it is actually facing.

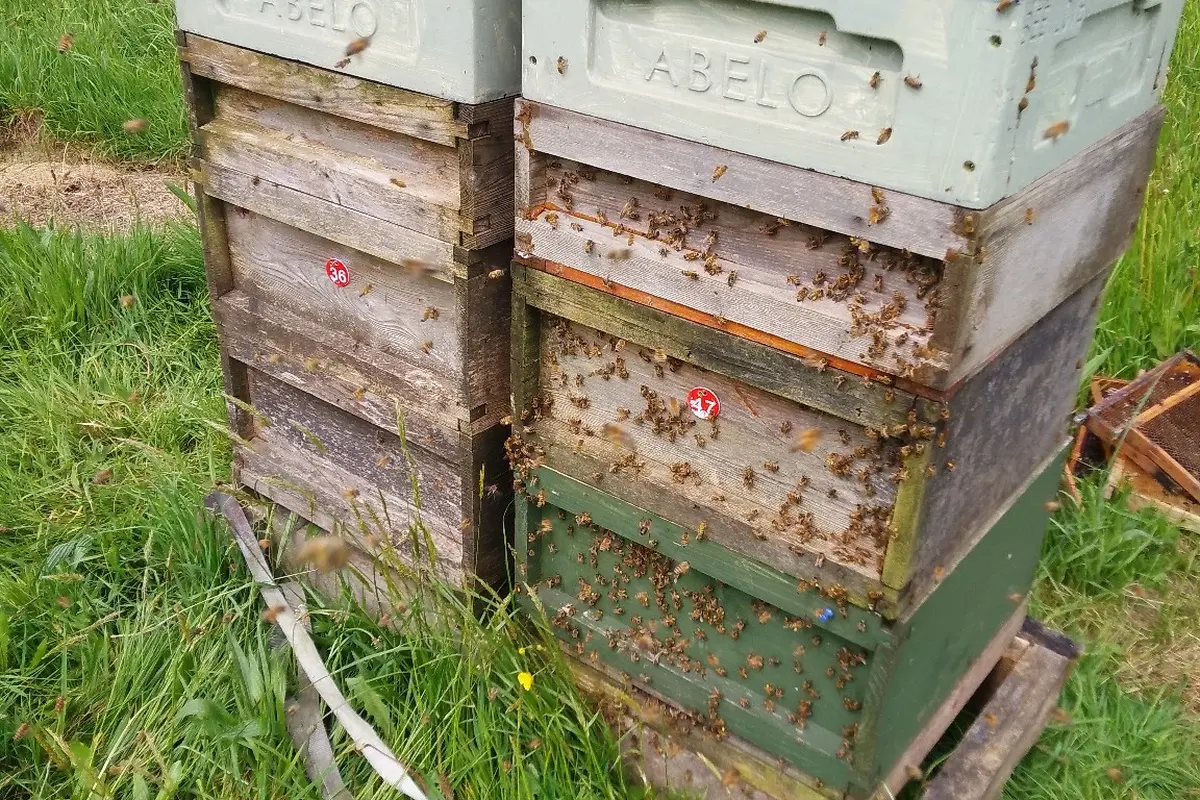
Two beehives in an apiary
Choosing a Hive System: Compatibility Before Buying

Choosing a hive is not only about deciding whether you like the look of a National, Langstroth or another design. A hive is a system of parts that must work together: boxes, frames, floors, roofs, feeders and other equipment all need to be compatible. Getting that clear at the beginning makes later purchases simpler and helps avoid expensive mistakes.

Choose a system, then learn its parts

In the UK, the British National is widely used, but Langstroth, Commercial and other systems are also established choices. None is automatically the best hive for every beekeeper. Local support, the equipment already used by someone helping you, availability of second-hand parts and your own intended management all matter.

Once you have chosen a system, learn the actual dimensions and names of its parts. “Deep”, “shallow”, “super” and “brood box” are not universal measurements. Some words describe the physical size of a box; others describe the job it is doing on a colony. Do not assume that parts with familiar names will fit together just because they are sold for beekeeping.

Frames are the critical fit

Frames must match the box they are intended for. Their length, depth, top-bar shape and spacing may vary between hive systems and box sizes. A frame that is only slightly wrong can leave damaging gaps, fail to hang correctly or prevent the box closing properly.

Before ordering, check the exact box and frame specification rather than relying only on a broad label. This matters especially when buying second-hand equipment or mixing parts from different manufacturers. A supplier can normally confirm what frames, foundation and queen excluder are designed to fit a particular box.

Compatibility is more than boxes and frames

A roof should cover the boxes beneath it properly; a floor must match their footprint; a crownboard, feeder and queen excluder need to sit correctly on the box. Nucleus boxes, spare brood boxes and honey boxes also need consideration if you want them to be useful within the same working system.

It is possible to use adapters or intentionally combine equipment, but that should be a considered choice with a clear purpose. It is very different from discovering halfway through an inspection that the frames, box and feeder cannot be used together.

Think about the colony’s needs, not only the catalogue

The physical system should support the way you expect to manage colonies. For example, a beekeeper who wants to use a large single brood box will look at different options from someone planning to use brood-and-a-half. That is a question about colony space and management, not simply about a preferred box name.

Similarly, the most common local hive can be a sensible choice because spare parts, advice and sometimes loan equipment are easier to find. But the right decision is not made by copying a neighbour without understanding why their equipment suits their circumstances.

A simple check before you buy

  • What hive system and exact box size is this part for?
  • Which frames and foundation fit it?
  • Will it sit properly with the floor, crownboard, roof and feeder I already have or plan to buy?
  • What purpose will it serve in the colony: brood space, surplus honey storage, feeding or something else?
  • Can I get replacements and compatible parts locally or reliably when I need them?

A compatible system does not lock you into one rigid way of keeping bees. It gives you dependable equipment so that your decisions can be based on what the colony needs, rather than on making mismatched parts fit.

Frames, Foundation and Comb: What They Do

Frames make it possible to inspect and manage a colony without dismantling the comb it lives on. Foundation can guide the bees’ comb-building, but it is the comb itself that becomes the colony’s working structure. Understanding the difference helps a new beekeeper avoid treating frames as simply identical units to count.

Frames hold removable comb

Beekeepers inspecting a frame of honeycomb in an apiary
Removable frames let a beekeeper inspect the comb while keeping it intact.

A frame is the wooden or plastic structure that holds a sheet of foundation, a starter strip, or comb built by the bees. Its dimensions must match the box and hive system being used. A shallow box needs shallow frames; a deep box needs deep frames. Frames from different hive systems are not necessarily compatible, even where their names sound similar.

The point of a movable-frame hive is that a beekeeper can lift out individual combs, examine them and return them without destroying the nest. That only works if the frames are correctly sized, spaced and handled gently. Keep them in their original order where possible: the colony has arranged its brood, food and empty space in a way that makes sense to it.

Foundation is a guide, not the comb itself

Foundation is a thin sheet, often wax or plastic, embossed with the beginnings of cell bases. It gives the bees a guide for building straight, removable worker comb. Frames can also be used with a narrow starter strip or without full foundation, allowing the bees to build their own comb.

Neither approach is automatically right for every colony or every management style. Full foundation can make it easier to obtain straight comb that is simple to inspect and extract from. Starter strips or foundationless frames need careful attention while new comb is being built, so that it remains straight and can be handled safely. Whichever you use, make sure it is suitable for the frame and for the job the comb will need to do.

Comb is the colony’s working structure

Bees use comb for brood rearing, pollen storage, nectar processing and honey storage. Those uses are often mixed together. A single frame may contain eggs and larvae in one area, capped brood in another, a band of pollen and nectar or honey around it. It is rarely as tidy as “one frame of brood” or “one frame of stores”.

When inspecting, first look for the pattern: where is the brood nest, is there enough food close to it, and does the colony have usable space? That tells you more than trying to turn every mixed frame into an exact number. With experience, you begin to recognise what you would expect to see next time and notice when a colony is moving away from that pattern.

New comb needs gentle handling

Freshly drawn comb is soft and can break or sag, particularly when it is warm or full of nectar. Keep it upright, avoid swinging it and support the frame securely. Do not force frames apart: work slowly and use the hive tool to break any propolis seal.

Comb also deserves attention when it is damaged, badly built, excessively old or no longer appropriate for the colony’s needs. Replace or remove it for a clear reason rather than following an arbitrary timetable. Any change to the comb arrangement should leave the colony with enough suitable brood space and food space for the conditions it faces.

A practical check before adding frames

Before adding a frame or box, ask what the colony needs now. A growing colony may need room to draw comb or store incoming forage; a small colony in poor weather may not be able to occupy extra space. The equipment is there to support the bees’ use of the hive, not to make the hive match a predetermined layout.

Frames and comb make a colony manageable, but they are also the record of how that colony is living. Learn to read them as a connected nest and your inspections will become more useful and less about counting.

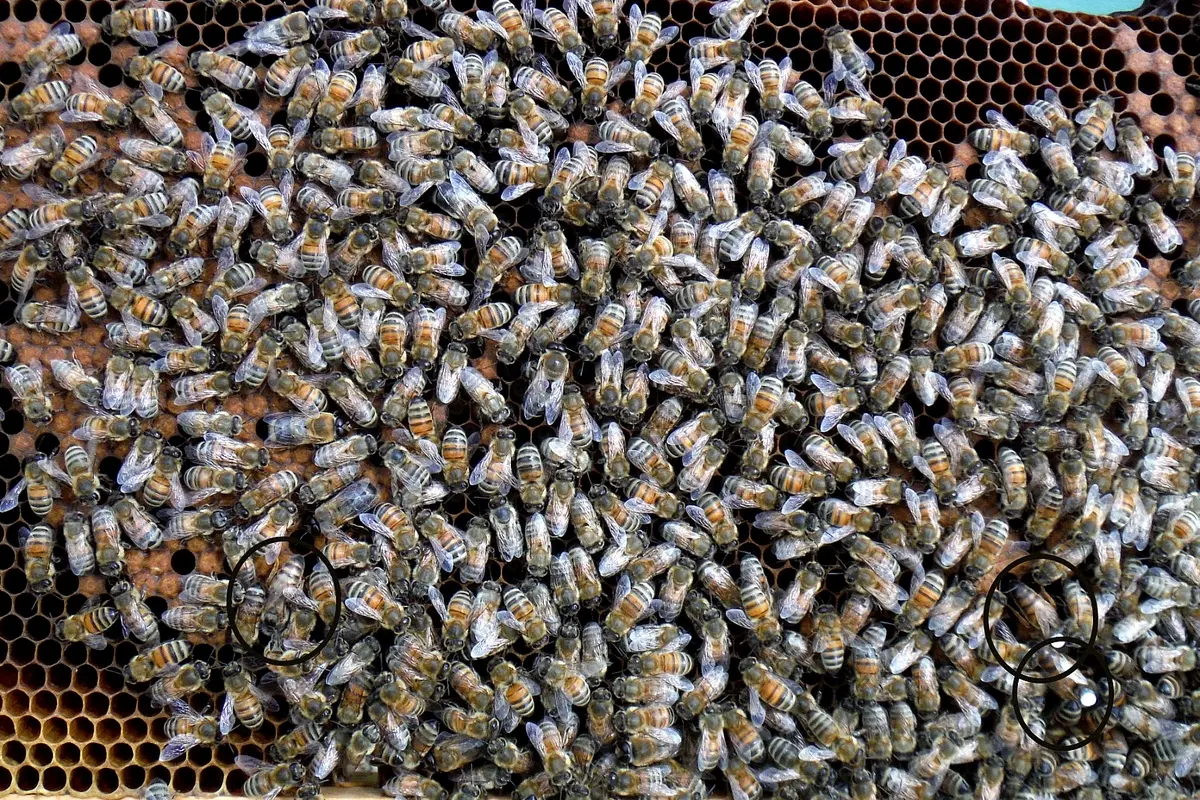
Beekeeper inspecting an open hive with frames
Parts of a Beehive: A Practical Guide

A beehive is a set of simple parts that gives a honeybee colony a dry, manageable home. The names can be confusing because a box may be described by its physical size and by the job it is doing in that particular hive. Keeping those two ideas separate makes equipment choices and beekeeping conversations much clearer.

Start with a compatible system

Choose a hive format and keep the main components compatible. In the UK, the British National is common, alongside Langstroth, Commercial and other systems. Boxes, frames, roofs, floors and queen excluders are not automatically interchangeable between them.

Box size and box purpose are different things

A box has a physical description: its length and width come from the hive system, while its depth may be described as shallow, deep or extra-deep. It also has a purpose when placed on a colony: it may be used for brood, stores or surplus honey. Those descriptions are not interchangeable.

For example, the National system commonly uses shallow, deep and extra-deep (14 × 12) boxes. Traditionally, deep or 14 × 12 boxes form the main brood nest and shallow boxes above them are used for surplus honey. In that familiar arrangement, beekeepers often call the shallow boxes “supers”. It is convenient shorthand, but it can hide the distinction. A deep box can be used as a honey super, and a shallow box used above a deep in a brood-and-a-half arrangement is functioning as brood space, not as a super.

When ordering or discussing equipment, use both descriptions where it matters: “a deep box to use as a honey super” is clearer than assuming that “super” means one particular box depth.

The stand and floor

A hive stand keeps the colony off the ground and the entrance clear of long grass and splashing rain. With a solid floor, a slight fall towards the entrance can help water drain out. An open-mesh floor changes that consideration. In either case, the hive needs to sit securely and the entrance must remain clear.

The floor forms the base of the hive and includes the entrance. Many modern hives use an open-mesh floor with a removable monitoring board underneath; a solid floor is also a usable design. The important thing is to understand how the particular floor on that hive works and what it requires from the beekeeper.

Frames, comb and the colony’s space

Frames hold the colony’s removable combs. They may contain a starter strip or wax or plastic foundation. Comb is the colony’s working structure: brood, pollen, nectar and honey may all be found on the same frame. Handle frames carefully and keep them in their original order where possible, because the bees arrange their nest for a reason.

The brood nest may occupy one box or more than one, depending on the box sizes, colony and management method. When a box above it is used to collect surplus honey, it is acting as a honey super. Add that storage space in response to a growing colony and a realistic prospect of forage, rather than simply because the calendar says so.

Queen excluder

A queen excluder is a grid designed to prevent the queen entering the boxes above it while allowing workers through. Its most familiar use is to keep brood out of honey supers. It is not a necessary part of every hive; it is a convenience that supports particular management styles and manipulations.

Crownboard and roof

The crownboard is the hive’s ceiling. It sits directly on the uppermost box and makes the close seal that the roof itself usually does not, helping to keep the colony enclosed and pests out. Feed holes or escape ports should be closed when they are not in use.

The roof is the weatherproof cover above the crownboard. It keeps out rain and protects the box edges. A well-fitting, insulated roof can help limit rapid temperature changes and condensation above the colony, but it does not replace the crownboard’s sealing role.

Once you know what each part is for, a hive becomes easier to read. The next step is not buying every available accessory; it is learning whether the colony has the space, warmth, food and dry shelter it needs at that moment.

First Inspections: What to Look For

A first inspection is not a test that you either pass or fail. Its purpose is to begin learning what a colony looks and feels like when it is going about its normal work, and to notice when something needs closer attention. Keep the first visit calm and purposeful. You do not need to find every answer at once.

Before you open the hive

Watch the entrance for a moment. Are bees flying purposefully, carrying pollen, bringing in nectar or making short orientation flights? A quiet entrance is not automatically a problem, and a busy entrance is not automatically proof that all is well. It is simply your first piece of information. Notice the weather too: a warm, calm day makes inspection easier for both you and the colony.

Look for the colony’s overall condition

Once the hive is open, take a moment before lifting frames. Is the colony covering the frames well for the time of year? Does it seem settled, or unusually defensive, noisy or agitated? Are there signs of damp, mold, pests or robbing? The aim is to build a picture rather than react to one isolated detail.

Brood: the clearest sign of direction

Two beekeepers examining a frame of honey bees in an apiary
A purposeful inspection is guided by the evidence in the colony.

For a new beekeeper, the most useful question is often whether the colony is raising brood in a way that makes sense for its size and the season. Look for eggs, open larvae and capped brood. You do not have to find the queen every time; seeing eggs tells you that a queen has been laying very recently.

A good brood pattern is not necessarily a perfectly solid block. Colonies are living systems, and patches of pollen or stores within the brood area can be normal. What matters is whether the brood looks broadly coherent and whether you can explain what you are seeing. If something appears uneven or unusual, make a note and look again at the next inspection rather than jumping immediately to a conclusion.

Stores, space and comb

Check that the colony has food around it. The amount of honey or syrup stores needed depends on weather, forage and colony size, so there is no single number that suits every hive. Pollen matters too: it is the protein source used to rear brood. Consider whether the bees have enough usable space, rather than simply counting empty frames. A small colony in a large cold box can struggle just as much as a crowded colony can run out of room.

What to record

Keep a short record after each inspection: date, weather, colony temperament, brood stages seen, stores, space, anything unusual and what you decided to do next. A few clear notes are far more useful than trying to remember everything. They let you compare one inspection with another and make decisions from the colony’s own pattern, not just from someone else’s expectation.

Keep the first inspections simple

Try to leave the colony as calmly as you found it. Work steadily, replace frames in the same order and avoid holding the hive open longer than necessary. With experience, you will notice more. At the beginning, the important thing is to become familiar with normal colony activity and to give yourself a reliable basis for asking better questions.

Advice is most useful when it helps you understand the reason behind an action. If someone recommends that you do something, ask what they are seeing in the colony and why that response suits the circumstances. Beekeeping is built on observation and judgment, not on following a fixed script.

Honey Bee Life Cycles: From Egg to Adult Bee

Every honey bee begins as an egg, but the time taken to become an adult and the work it will later do depend on its caste, the conditions in the colony and the season. The figures below are useful working guides, not deadlines. Development temperature in particular can shift the timing, and colonies do not run to a perfectly fixed timetable.

One life cycle, three castes

Queens, workers and drones all pass through the same broad stages: egg, larva, pupa and adult. The difference is in the development programme the colony gives them. A fertilised egg can become a queen or a worker; an unfertilised egg develops into a drone. A young larva selected to become a queen is reared differently from a worker larva, which is why queen development is faster.

Egg

The queen lays a single egg in the base of a clean cell. For the first few days it stands upright, then gradually leans over before hatching. Seeing eggs tells you that a queen has been laying very recently, but it does not by itself tell you everything about the colony’s wider condition.

Larva

After roughly three days, the egg hatches into a larva. Nurse bees feed and care for it in an open cell. At this stage the larva grows rapidly and the amount and type of food it receives matters. A queen larva continues on a queen-rearing diet and develops in a queen cell; worker and drone larvae develop in their own sized cells.

Pupa

When the larva is ready, workers cap the cell. Inside, the larva changes into a pupa and then an adult bee. This is why sealed brood is useful evidence of what was happening in the colony around a week or more earlier; it is not a separate new brood event appearing on the day you inspect.

A practical development guide

Counted from the day the egg is laid, a queen commonly emerges at about day 16, a worker at about day 21 and a drone at about day 24. Those are practical mid-points, not promises. Differences in developmental temperature and colony conditions can bring emergence forward or push it back, so it is sensible to work within a window and to keep checking the colony’s actual progress.

  • Queen: egg for about 3 days; open larva until around day 8; then sealed and developing until emergence at roughly day 16.
  • Worker: egg for about 3 days; open larva until around day 9; then sealed and developing until emergence at roughly day 21.
  • Drone: egg for about 3 days; open larva until around day 10; then sealed and developing until emergence at roughly day 24.

Adult life is not a fixed job timetable

Once emerged, adult workers gradually take on different tasks, but this is flexible rather than a strict age-based rota. Younger workers are often involved with cleaning, brood care and food processing; later they may build comb, guard, ventilate or forage. Colony need can change that progression. Summer workers may live only a few weeks because of the intensity of work, while winter workers can live for several months. Drones mature, fly to drone congregation areas and may mate with virgin queens; their age at maturity and their presence in the colony also vary with conditions.

Using the stages when you inspect

Looking for eggs, larvae and sealed brood gives you a short history of the colony as well as a picture of today. Rather than treating one stage as a pass-or-fail test, ask whether the stages present make sense together for the colony and the season. At the next inspection, compare what you expected to see with what has actually developed. That is how timing becomes a useful guide instead of a rigid rule.

Swarm Awareness: Recognising the Signs

← Back to Educational Resources

Swarming is how a honey bee colony reproduces. It is not simply a mistake or a single sign that has appeared in the hive. For the beekeeper, the useful question is: is this colony beginning to organise itself for reproduction, and how far along is that process?

Read the direction of the colony

A colony preparing to swarm is usually changing in several ways at once. It may be building rapidly, bringing in food, raising large amounts of brood and producing drones. The brood nest can become crowded or compressed as nectar and pollen occupy comb that might otherwise be available for laying. There may also be a growing population of young bees. None of these observations alone proves that a swarm is imminent. Together, and compared with what the colony looked like at the previous inspection, they help to show the colony’s direction.

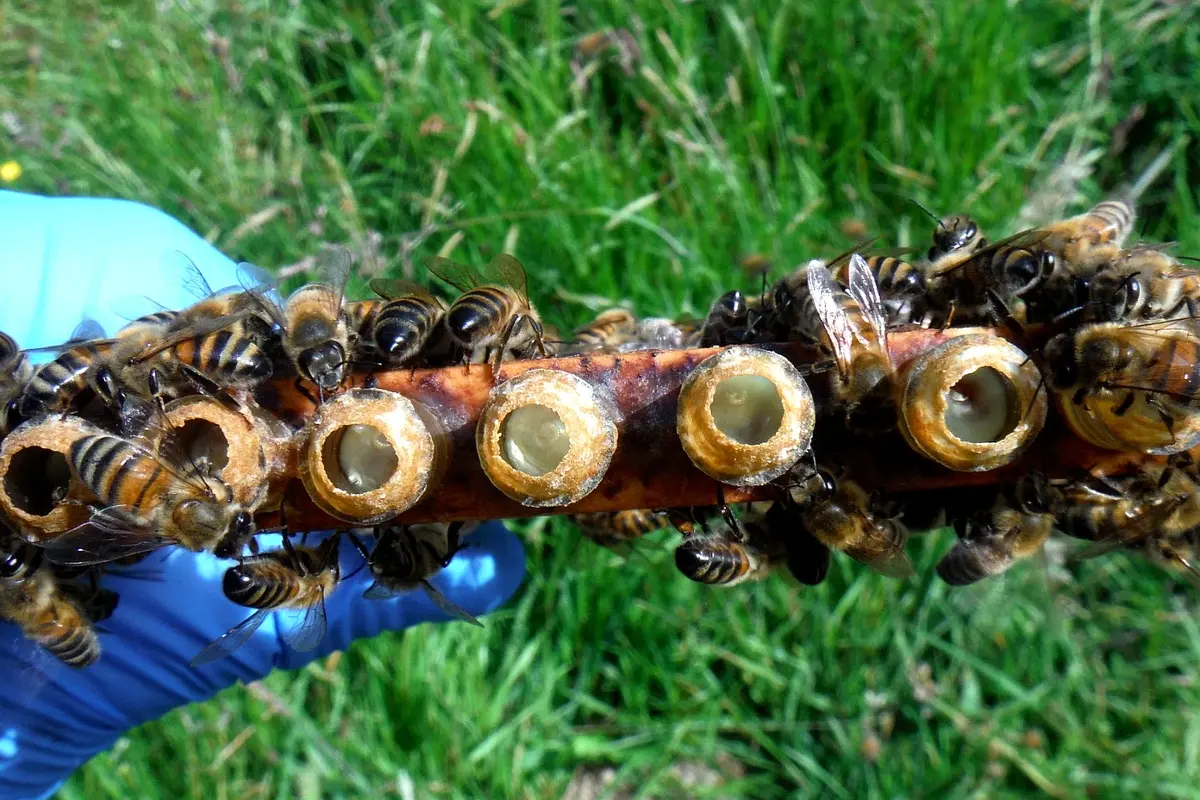
Queen cups and queen cells

Queen cups are commonly present in colonies and, on their own, are not a reason to intervene. A cup containing an egg or larva deserves closer attention, but it still needs to be read with the rest of the colony. Look at its position, number and development, the amount of brood and stores, available laying space, colony strength and the season. A developing queen cell can occur in more than one context; avoid assuming its purpose from one feature alone.

Once queen cells are sealed, preparation may be well advanced. That is a point to assess carefully and act promptly if the colony and your management aim call for it, not a reliable calendar promise of exactly when a swarm will leave. Weather, forage, colony condition and the colony’s own decisions all affect what happens next.

Space matters, but space is not a cure-all

Giving a colony usable room before it becomes restricted is sound routine management. The colony needs laying space around the brood nest and suitable places to store incoming food. An empty box in the wrong place, or comb the bees are reluctant to use, may not solve the problem. Adding space also does not necessarily reverse a reproductive process that is already established. Check whether the space is appropriate and whether the colony uses it, rather than treating equipment as an automatic answer.

What to look for at an inspection

  • Is the colony expanding, holding steady or becoming compressed?
  • Is there enough usable laying and storage space in the places the bees need it?
  • Are drones and drone brood appearing as part of wider seasonal development?
  • Are there queen cups or cells, and what stage are they at?
  • What has changed since the last inspection, and what would you expect to see next?

Act early, and match the action to the evidence

Early signs give you more options. Depending on the colony, that may mean improving the arrangement of comb and space, making up a split, using a planned swarm-control method, or deciding that the colony’s condition needs further observation before you disturb it. Choose the smallest action that fits the colony and your purpose. Once a colony is well into swarm preparation, late or partial interventions can be less reliable.

Keep a brief note of the signs you found, the stage of any cells, what you did and what you expect at the next visit. That lets you test your reading of the colony rather than relying on a rigid timetable. A swarm-risk assessment is not a prediction of certainty; it is a practical judgement made from a changing natural system.

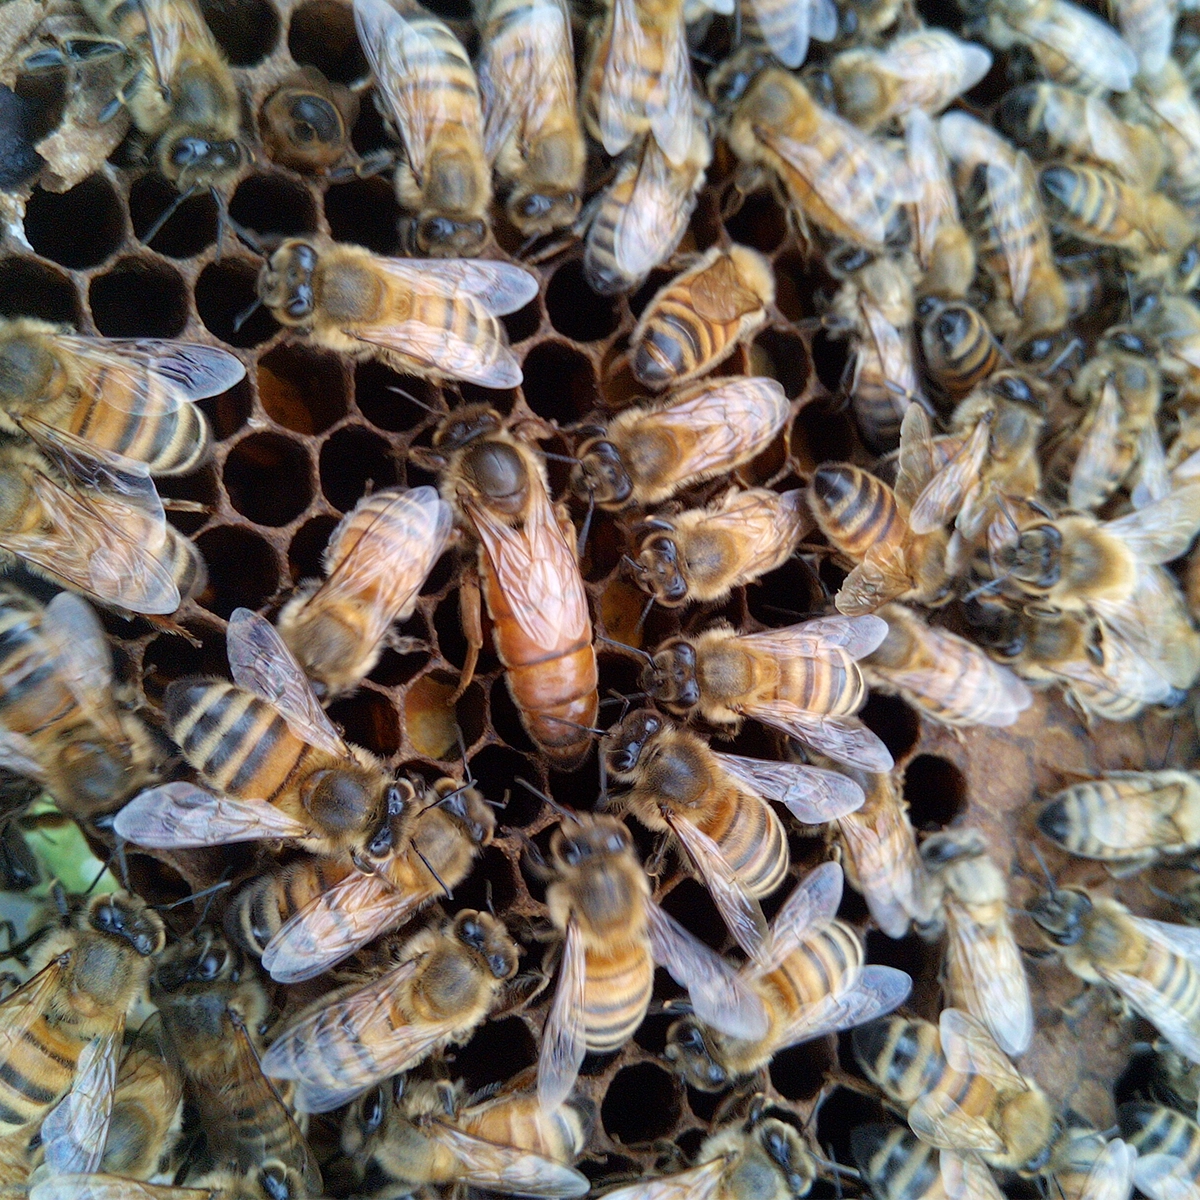
Queen bee on comb among worker bees
Queen Mating: From Emergence to First Eggs

← Back to Educational Resources

A virgin queen emerging from her cell is the start of a new stage, not the end of the process. She must mature, orientate, mate if conditions allow and then begin laying. The timings below help you plan checks, but they are ranges to work within rather than dates that guarantee an outcome.

What happens after emergence

In the first days, the virgin queen needs time to mature and settle in the colony. When weather and drone availability allow, she will take orientation and mating flights. Genetics, development conditions, colony strength, the local drone population and the weather all affect how quickly this progresses. Prolonged rain or unsuitable flying weather can delay mating well beyond the timetable you hoped for.

Practical checks after emergence

Time after emergence What to look for
First week Minimise disturbance. The queen is maturing and may be preparing to fly.
About two weeks Look for eggs. Their presence shows that the queen has begun laying, but does not by itself prove successful mating.
About three weeks In ordinary conditions, expect eggs and often some sealed brood. If there are no eggs, consider the weather and whether the queen is present.
If the queen is present but there are no eggs Give the colony another week where conditions or the queen’s age make that reasonable, then reassess.

These are practical decision points, not deadlines. A well-mated queen may be laying relatively soon after emergence in good weather; another may be delayed by conditions that are outside the beekeeper’s control.

Eggs are evidence, not the final verdict

Seeing eggs tells you that the queen is laying. It does not yet tell you everything about mating success or future performance. Continue to look for sealed worker brood and then allow the queen time to build a useful pattern. Only after she has laid for several weeks—ideally through more than one worker-brood cycle—does a brood pattern become meaningful evidence for assessment.

Do not diagnose too quickly

A poor-looking early brood area is not automatically evidence of poor mating. Queen quality begins before mating: larval nutrition and the conditions in which a queen developed can affect later performance. Conversely, a queen can initially lay and still later show problems if sperm quantity, genetic diversity or other factors are limiting. Read the whole sequence of evidence before deciding what has happened.

Use the colony and the weather as the guide

When a mating nucleus is late, ask practical questions. Has there been flying weather? Were mature drones likely to be available? Is the queen present? Are there eggs, sealed brood or only a very early laying pattern? These observations help you decide whether to wait, inspect again or take action.

Keep concise records

Record emergence date where known, the dates you checked, weather that may have limited flights, eggs or brood stages seen, and any action taken. These notes make it easier to learn the patterns in your own apiary without turning natural variation into a false fixed timetable.

Next read: Queen Rearing & Breeding resources

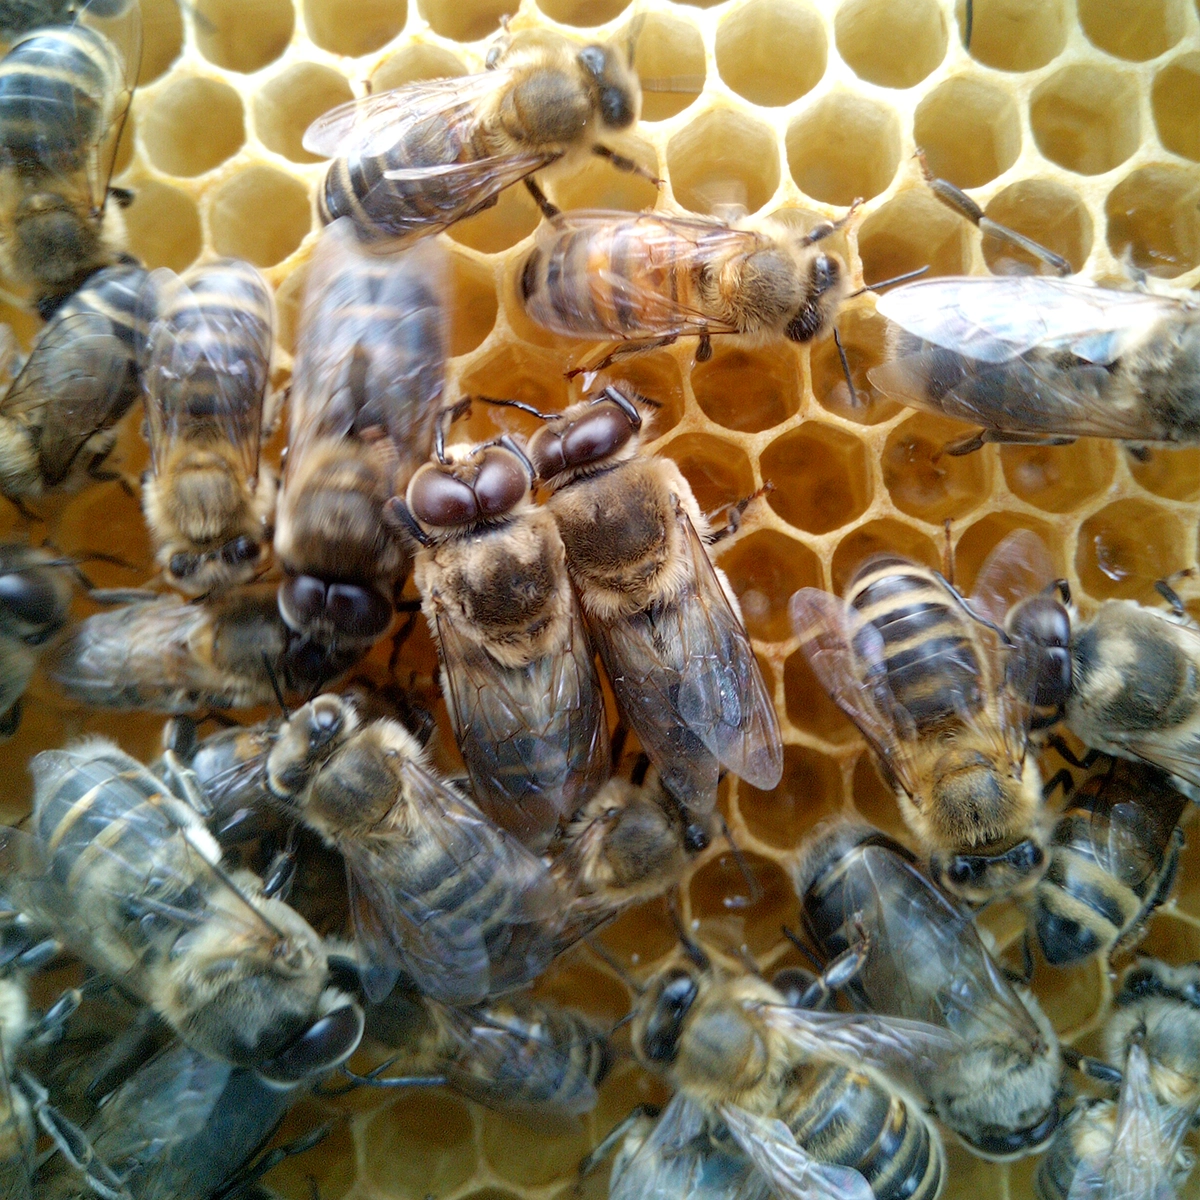
Drones on a frame of honeycomb
The Drone Side of Queen Breeding

← Back to Educational Resources

Queen breeding is often discussed through the choice of a queen mother, but every daughter colony also has a paternal contribution. The drones that mate with a queen influence the genetics of the workers she produces. If the aim is to understand or direct a breeding programme, the drone side needs as much thought as the maternal side.

Drones are part of the breeding decision

A selected queen can only pass on part of the genetics in her daughters. The rest comes through the drones she mates with. For that reason, a good queen mother does not automatically produce a predictable result if the drone population is unknown or unsuitable for the direction of breeding.

Choose drone-source colonies using the same care applied to maternal sources: look for healthy, workable colonies that perform consistently in the traits that matter. A colony that simply produces a large number of drones is not automatically the right genetic source.

Control and influence are not the same

With open mating, a beekeeper can influence the local drone population by raising drones from selected colonies. This can be useful, particularly where selected colonies are well represented nearby. It is not full control: a virgin queen may still mate with drones from a wider area.

Instrumental insemination offers a different level of control because the drone source can be chosen directly. Both approaches have a place. The useful choice depends on how much certainty the breeding question needs and what is practical in the apiary.

Plan drone production early

Drones need time to develop and then mature before they can contribute to mating. A practical planning point is around forty days from egg laying to a point when there should be a useful number of mature drones. This is a mid-point for planning, not a fixed biological deadline. Development temperature, drone genetics, colony conditions and the way the drones are managed can all move the actual window earlier or later.

Work backwards from the period when virgin queens are likely to be ready, and then look at the colony rather than relying only on the calendar. Are drones present, well cared for and in a condition that makes sense for the season and the colony?

Give drone colonies the conditions to succeed

Drone rearing places a demand on a colony. It needs enough food, a suitable worker population and good overall condition. Drones intended for breeding should not be treated as an afterthought. The quality of the colony’s care, the timing of their development and their opportunity to mature all affect whether a planned drone source is useful in practice.

Keep the record connected to the result

Record which colonies supplied the drones, when they were raised and what mating method was used. Then connect that information to the performance of the queens and daughters that result. This makes it possible to learn from a planned pairing and to distinguish a repeated pattern from a one-off outcome.

Next read: Queen Rearing & Breeding resources