Archives October 2026

Beekeeping equipment
Essential Beekeeping Tools & Clothing

You do not need a large collection of specialist equipment to begin keeping bees. A small number of well-chosen items will help you work calmly, safely and with a clear purpose. Add equipment when you understand the problem it is intended to solve.

Protective clothing
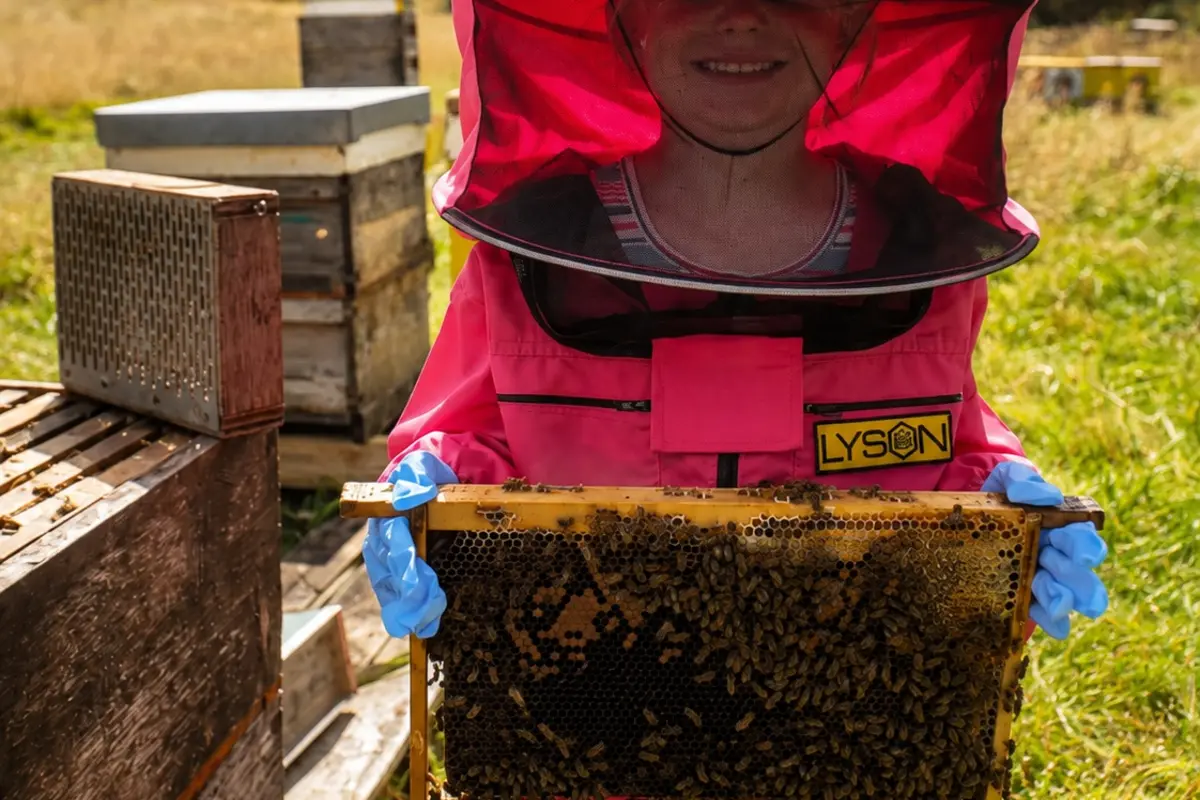
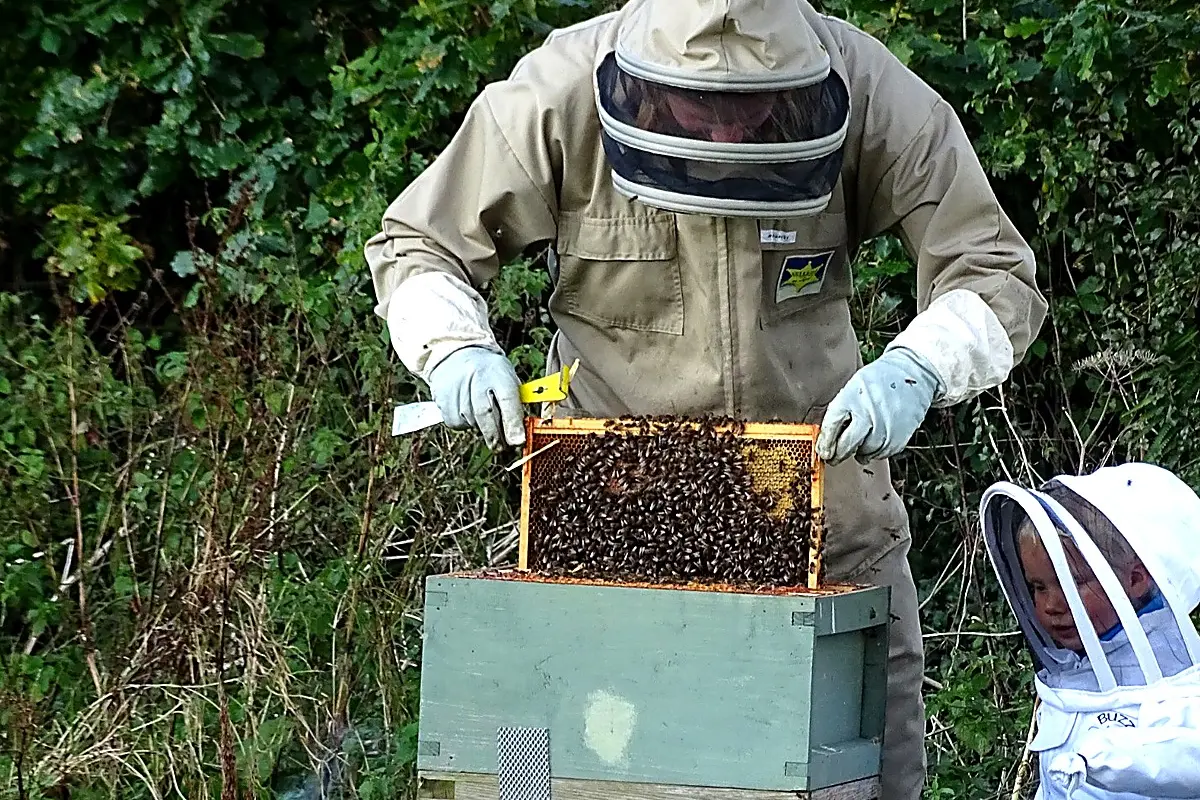
Beekeeper wearing a protective veil and suit while holding a frame of comb
Well-fitting protective clothing allows a beekeeper to see, move and handle frames comfortably.

A well-fitting bee suit or jacket with a secure veil is the starting point. It should allow you to see clearly and move easily while keeping bees away from your face, wrists and ankles. Gloves can be useful, particularly while you are gaining confidence or when a colony is defensive, but thick gloves reduce feeling and can make delicate frame handling clumsy. Choose protection that lets you stay calm and work carefully.

A smoker

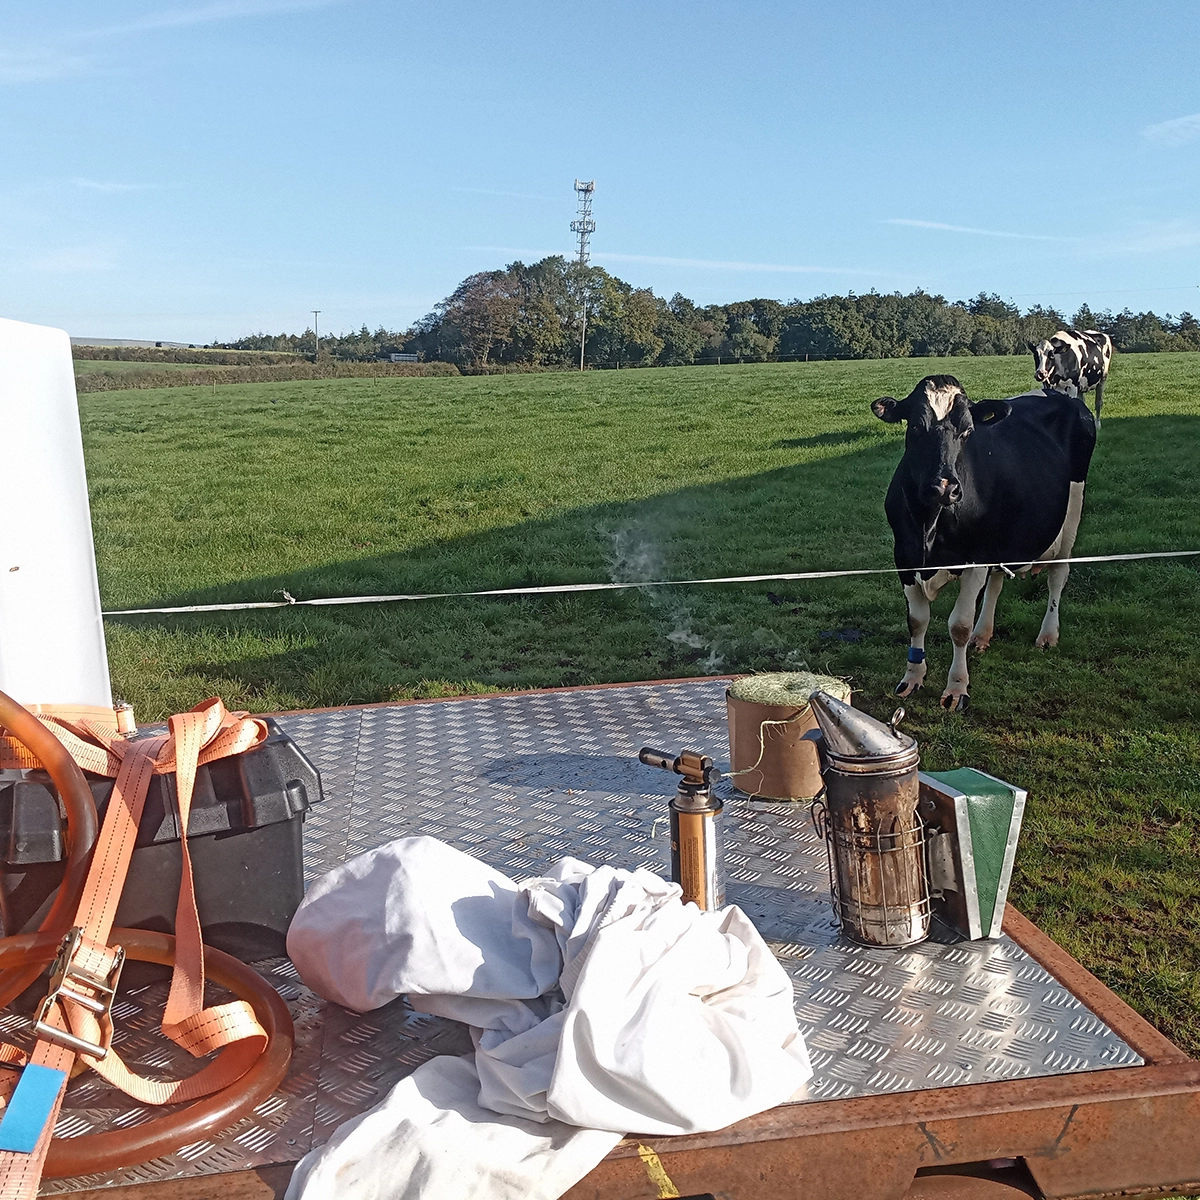
A smoker is an important tool, not something to use automatically. Cool, clean smoke can help make an inspection more manageable, but it does not replace calm movements, gentle handling or choosing suitable weather. Learn to light and maintain it safely before opening a hive, and make sure it is fully extinguished afterwards.

A hive tool

Frames and hive parts are often stuck together with propolis. A hive tool lets you separate them with control rather than forcing them apart. One simple, sturdy tool is enough at first. Keep it clean enough to use safely and avoid leaving it where it can be lost in the grass.

Something to record with

A notebook or simple phone record is useful for short notes: what you noticed, what you expect to see next time, and anything that needs follow-up. Do not feel obliged to turn every inspection into a frame-by-frame inventory. The purpose is to help you recognise the colony’s own pattern and remember exceptions or decisions.

Useful spares

As soon as practical, keep a few compatible spare frames and a spare box, floor or roof available. They give you options when a colony needs more room, a part is damaged or an inspection reveals something unexpected. Buy spares that match the hive system you have chosen; compatibility matters more than accumulating equipment.

What can wait

Extractors, wax-processing equipment, specialist feeders and other accessories may become useful later, but they are not all needed at the beginning. If you expect to take honey, choose or borrow an extractor appropriate to the number of colonies and the frames you use when the time comes. Pre-made equipment can save time; simple jobs you understand and can do safely may be made or repaired yourself. The useful question is whether an item will help you care for the colony well now.

Keep the focus on the colony

Good equipment supports good beekeeping; it does not make decisions for you. Start with clothing that gives you confidence, a smoker, hive tool, a way to make short notes and compatible spares. The rest can follow as your colonies, knowledge and practical needs develop.

Next read: Preparing Your Apiary Site & Hive
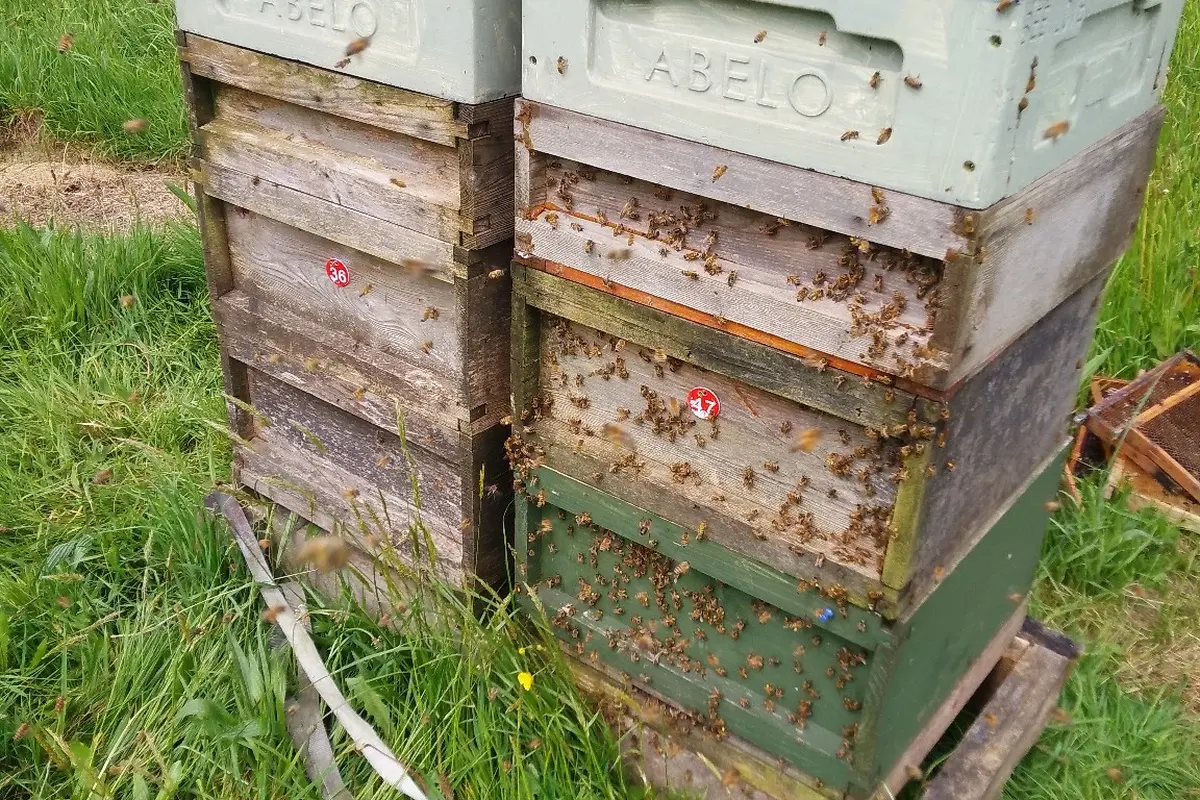
Two beehives in an apiary
Choosing Your First Beehive

There is no single “best” hive for every beekeeper. A useful first choice is one that is compatible with the colony you are buying, practical for you to handle and easy to keep standardised as you add equipment.

Choose a system, then standardise

Start by checking the frame type and dimensions of the nucleus colony you plan to buy. Your hive needs to take those frames properly. Once you have chosen a system, keep boxes, frames, floors, roofs and spare parts compatible. That makes inspections, moving frames, adding space and keeping spares much simpler.

National and Langstroth

The British National is common in the UK, with parts available from several suppliers. Langstroth hives are also widely used and can be a good option, particularly when the colony you are buying is already on Langstroth frames. Other systems can work well too. The important point is not to force a colony from one frame format into another simply because a different hive looks preferable.

Think about practical handling

  • How much a full box and its frames will weigh for you.
  • The height of the hive and the room you have to work around it.
  • Where you will keep spare boxes, frames and floors.
  • Whether compatible equipment and nucleus colonies are readily available locally.
  • Whether the equipment is sound, weatherproof and easy for you to maintain.

Wood or polystyrene

Both wooden and polystyrene hives can be used successfully. Sound, weatherproof equipment matters more than material alone. Check that parts are intended to work together: dimensions can vary slightly between makes, particularly with polystyrene components.

Avoid false economy

Second-hand equipment can be useful, but inspect its condition and compatibility carefully. Make sure it can be cleaned and maintained. A small set of sound, matching equipment is usually more useful than a collection of inexpensive parts that do not fit together.

Start simply

A basic hive that matches your nuc, suitable protective clothing and a few essential tools are enough to begin. Add sensible spares as budget allows. You do not need specialist equipment at the outset; the hive should support good observation and management rather than create unnecessary complications.

Next read: Essential Tools & Clothing

Two beehives in an apiary
Overwintered Nuc or Spring Nuc?

Both overwintered and spring nucs can be good ways to start keeping bees. The useful choice is not about one being universally better: it is about the colony’s stage of development, the time you have available, and what you need from your first season.

What is an overwintered nuc?

An overwintered nuc has come through winter with its queen. By spring, it is an established queenright colony and the bees present are normally her progeny. It has already faced winter conditions, and when well managed it can begin expanding as spring conditions improve.

That established workforce can give an overwintered nuc a head start. It may be ready to develop quickly, so it still needs timely observation, sufficient space and attention to stores. Overwintered nucs are often scarcer and may cost more, reflecting the time, risk and resources involved in carrying a colony through winter.

What is a spring nuc?

A spring nuc is made during the same season. It can be a well-made, healthy colony, but it is at an earlier stage of development. The queen may have begun laying recently, and some of the original workers can come from the colony that supplied the bees and comb.

In favourable weather with good forage, a spring nuc can build surprisingly quickly. It also needs patience: its population, brood area, comb use and stores can change rapidly, while the original older workers are gradually replaced by the queen’s own progeny. The pace depends on weather, forage, queen laying rate and the colony’s condition.

The practical difference

An overwintered nuc usually gives a more established starting point early in the season. A spring nuc generally gives a younger colony that needs time to become established. Neither description is a guarantee of quality, strength or outcome. A carefully made spring nuc may suit a beekeeper very well; a strong overwintered nuc may be the better fit for someone wanting a more advanced early-season start.

Ask about the colony, not just the label

  • When was the colony made or established?
  • When was the queen introduced or confirmed laying?
  • How long has the colony been developing on its current frames?
  • What brood stages, bees and stores are present now?
  • What hive system are the frames designed for?

A practical guide is that a newly made colony may take around two brood cycles — roughly six weeks — to be made predominantly of the queen’s own progeny. Treat that as a working range, not a deadline. Good conditions can speed growth; poor weather or limited forage can slow it considerably.

Choose the colony that suits your situation

Whichever you choose, plan for calm inspections, compatible equipment, enough food and appropriate space. A nuc is a living colony, not a finished product. The best start comes from understanding its condition, responding to what it needs and giving it the time to develop.

What Is a Nucleus Colony?

A nucleus colony — usually shortened to a nuc — is a small, functioning honey bee colony supplied on its own frames. It is often the most practical way for a new beekeeper to start, because it contains the beginnings of a working colony rather than a loose collection of bees.

What a well-established nuc contains

Honey bee nucleus colonies at Bishop’s Bees
A nuc is a small, functioning colony supplied on its own frames.

A nuc is normally made up of five or six frames, depending on the system being used. It should have a laying queen, workers, brood in different stages, and appropriate pollen and food stores. The exact balance varies with the season and the colony’s size, but the important point is that the bees, brood and queen form a coherent colony that is already developing.

In an established nuc, most of the workers will be the progeny of its queen. That matters because it shows that the queen has been laying and the colony is functioning around her. It is more informative than simply knowing that a queen has been placed into a box of bees.

A nuc is not just another name for a split

New colonies are often made by splitting bees and comb from an existing colony. This is a normal and useful beekeeping method, and a split can develop into a good nuc. However, a recently made split with a newly introduced queen is at an earlier stage of development than a colony that has had time to establish around her.

That does not make one automatically better than the other. It explains why it is sensible to ask clear questions about what you are buying: when was the colony made, when did the queen begin laying, and how long has the colony been developing as a unit?

Overwintered and spring nucs

An overwintered nuc has come through winter with its queen, so the bees present are normally her progeny. A spring nuc may have been made more recently, and can still include older workers from the colony it came from while the new queen’s brood develops. Neither description tells you everything about quality; it tells you something about the colony’s stage of development.

As a practical guide, a new colony often needs around two brood cycles — roughly six weeks — to become established predominantly around the queen’s own progeny. This is a guide, not a deadline. Weather, forage, queen laying rate and colony condition all affect the pace.

What to look for when choosing a nuc

  • A queen that is present and laying, with a sensible progression of brood stages.
  • Enough bees to cover and care for the brood for the time of year.
  • Food and pollen stores in a condition that makes sense for the season.
  • Frames that suit the hive system you intend to use.
  • A clear explanation of the colony’s history and current development.

Settling the colony into its new hive

Once home, a nuc needs to be transferred into compatible equipment, given an appropriate amount of space and allowed to settle. The next steps depend on its strength, the weather, available forage and the time of year. A smaller colony may need more careful support than a strong one, but it should still be managed by reading what it is doing rather than by a fixed timetable.

A good nuc gives you a clear starting point: a queenright colony on known comb, with enough history to understand what you are taking on. The next guide compares the strengths and practical differences between overwintered and spring nucs.

What Does Keeping Bees Involve?

Keeping bees is rewarding, practical and fascinating, but it is not a way of simply putting a hive in the garden and leaving it to look after itself. A honey bee colony is a large, changing population of living insects. The beekeeper’s job is to understand its condition well enough to provide appropriate care, recognise when something needs attention and avoid unnecessary disturbance when it does not.

It is a year-round responsibility

Bees are active in different ways throughout the year. In spring and summer colonies may build quickly, gather food, raise brood and prepare to reproduce. Later in the season the focus changes towards health, adequate stores and a colony that can come through winter. There is no single weekly routine that fits every colony. Weather, forage, local conditions and colony strength all change what you are likely to see and what may be required.

Inspections are about understanding, not just looking

During the active season, hives need purposeful inspections. You are looking at brood, food, space, the condition of the comb and the colony’s behaviour as a whole. With experience, these observations help you predict what is likely to happen next. An inspection should have a reason: perhaps to check whether the colony has sufficient food, whether brood is developing sensibly, whether it has room to work, or whether a previous decision has had the expected result.

The aim is not to turn every visit into a long list of numbers. A useful record might simply note anything unexpected, what you did and what needs checking next. Over time, this builds the confidence to recognise what is normal for your own colonies and your local conditions.

Bee health and welfare come first

Keeping bees means taking responsibility for colony health. Learn to recognise the signs that a colony may be under stress, understand the importance of varroa management, and keep up to date with the official disease, movement and treatment guidance that applies where you keep bees. Good hygiene, sensible equipment management and timely observation are part of normal beekeeping, not separate extras.

There is practical work as well as hive work

A colony needs a suitable apiary site, sound equipment, protective clothing, food when conditions make it necessary, and enough time for calm inspections and any follow-up work. You will also need to think ahead: arranging space before a colony becomes restricted, making preparations for winter, and having a sensible plan for swarming or a queen failure. Some seasons are straightforward; others require more attention than expected.

Learn the reasons behind the advice

There is plenty of beekeeping advice available, and much of it can sound like a fixed rule. It is more useful to ask what the person is seeing, what they think it means and why their suggested action fits those circumstances. A good explanation helps you make a better decision when the conditions are different next time.

Before buying bees, give yourself time to learn the basics, see colonies being inspected and consider whether the ongoing commitment suits you. Starting with sound knowledge makes the practical side far more enjoyable — and gives the bees a better chance of being managed well.

Next: explore the Getting Started resources, including how to choose a suitable nucleus colony.

Honey bee brood on a frame
Assessing Brood, Stores and Space

← Back to Educational Resources

Brood, stores and space are often discussed as if they can be counted into tidy frame totals. In a working colony they are usually mixed together, and the more useful question is not “how many frames?” but “does this arrangement make sense for this colony, in these conditions?” Your assessment should help you understand what is happening and what, if anything, needs to change.

Brood: look for a coherent story

Eggs, open larvae and sealed brood show different points in one continuing process. A colony with a laying queen and a sensible progression of brood stages is often giving a useful picture of continuity. But a good brood pattern is not a perfect solid rectangle. Pollen, nectar and honey can appear among brood cells, and the brood area changes with the season, forage and colony strength.

Rather than scoring a pattern, ask whether it is broadly coherent. Is the colony raising brood at a level that makes sense for its size and the time of year? Does it appear to be expanding, holding steady, reducing or becoming compressed? An uneven area may warrant a closer look or a follow-up; it does not automatically diagnose a queen problem or disease.

Stores: look at where the food is

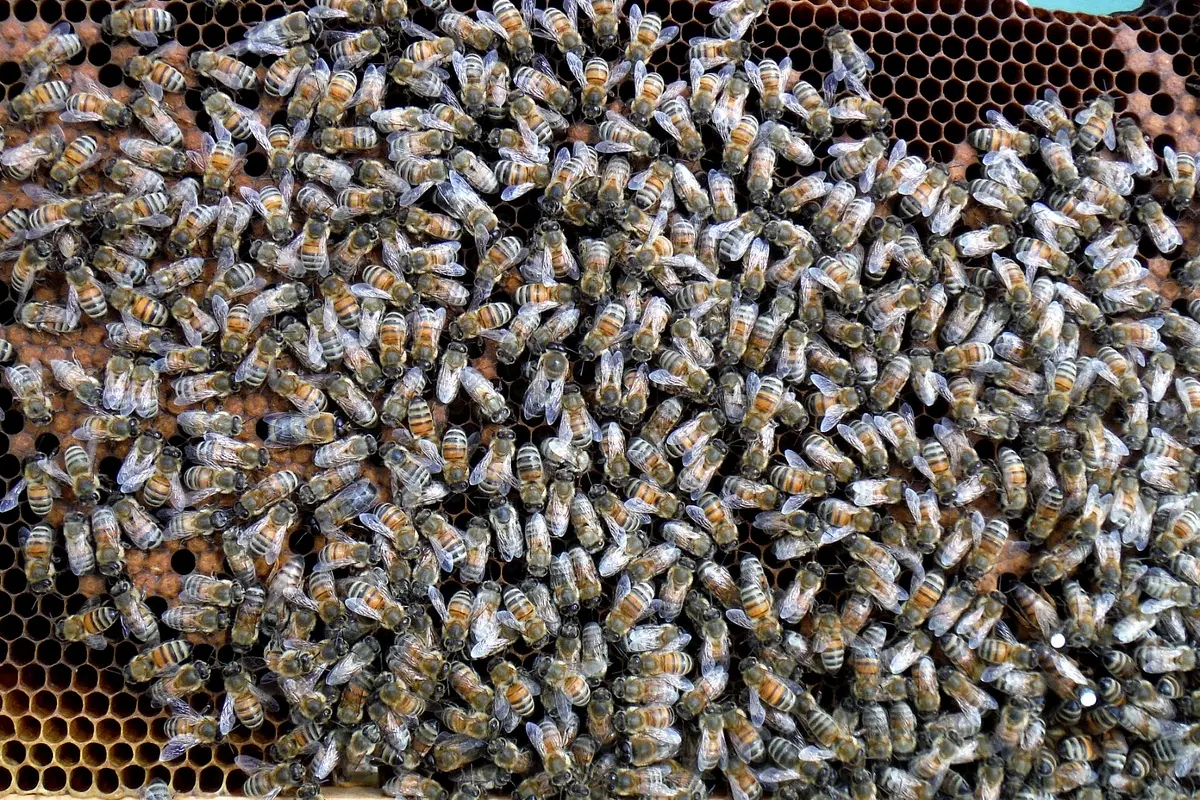
Beekeeper assessing stores in a honey bee colony
Assess available food alongside brood and the amount of usable space.

When you assess stores, look at where the food is — not just how much honey is somewhere in the hive. Bees need accessible food around the brood nest, particularly when weather prevents foraging or when brood rearing is demanding. Honey above a queen excluder is not automatically available to the colony in the way and at the time it needs it. Some colonies move stores readily; others are reluctant to do so.

Consider the relationship between brood and food, the colony’s current population, the weather, remaining forage and the time until you will next inspect. Pollen is part of the picture too: it is the protein source used to rear brood. A colony can look well supplied in one part of the hive while the area that matters most is becoming short. Equally, not every store outside the brood area is genuinely surplus for the beekeeper to take.

Space: the right comb in the right place

Space does not simply mean an empty box. A colony needs usable comb in the right place for the work it is doing: laying space near the brood nest, room to store incoming food and, when appropriate, space above for the crop. A small colony in a large cold box may not be helped by more volume, while a strong colony can become restricted even when there is apparently empty comb somewhere it is not inclined to use.

Look at how the bees are using the comb, rather than assuming that every empty-looking frame is equally useful. If you add space, make a simple prediction about how it should be used and check that at the next visit. If it remains unused, that is information about the colony’s needs rather than proof that you should add still more equipment.

Avoid false precision

A mixed frame might contain brood, pollen, nectar and stores in different proportions. Recording it as half a frame of one thing and a quarter of another can create numbers that look exact but do not improve your judgement. Short notes about the overall picture are often more useful: “brood nest expanding, accessible stores light, added one frame beside brood” tells you what you saw, what you did and what you should check next.

Use the next inspection to test your reading

The value of an assessment is in what it helps you predict. If you believe the colony is building, what would you expect to see next week? If you moved a frame or added space, has the colony used it? If stores were light, has the weather or forage changed the risk? Records should keep these exceptions, decisions and follow-up points clear. Over time, this helps you recognise normal development and spot a genuine change before it becomes urgent.

Purposeful Hive Inspections

A hive inspection should begin with a reason, not simply because a certain number of days has passed. The purpose might be to check that a new queen has started laying, to judge whether a colony needs more usable space, to follow up something that was unusual last time, or to assess its direction as the season changes. That clear purpose helps you work calmly, disturb the colony less and notice the evidence that matters.

Everything is okay unless the colony shows you otherwise

Most of the time, a healthy colony is simply going about its work. The aim is not to hunt for a fault in every frame; it is to recognise what looks normal for that colony, at that time, and to notice when something does not fit. A quiet entrance, a patch of stores in the brood nest or an uneven-looking frame may all have perfectly ordinary explanations. Put each observation in context before deciding it is a problem.

Read the colony before you open it

Watch the entrance and the weather for a moment. Bees may be foraging, orientating, ventilating or sitting in because conditions are poor. None of those things is enough on its own to diagnose the colony. They are the first clues in a wider picture. Your reason for opening the hive should then guide how far you need to go; you do not need to inspect every frame or find the queen on every visit.

Look for a pattern, not a tally

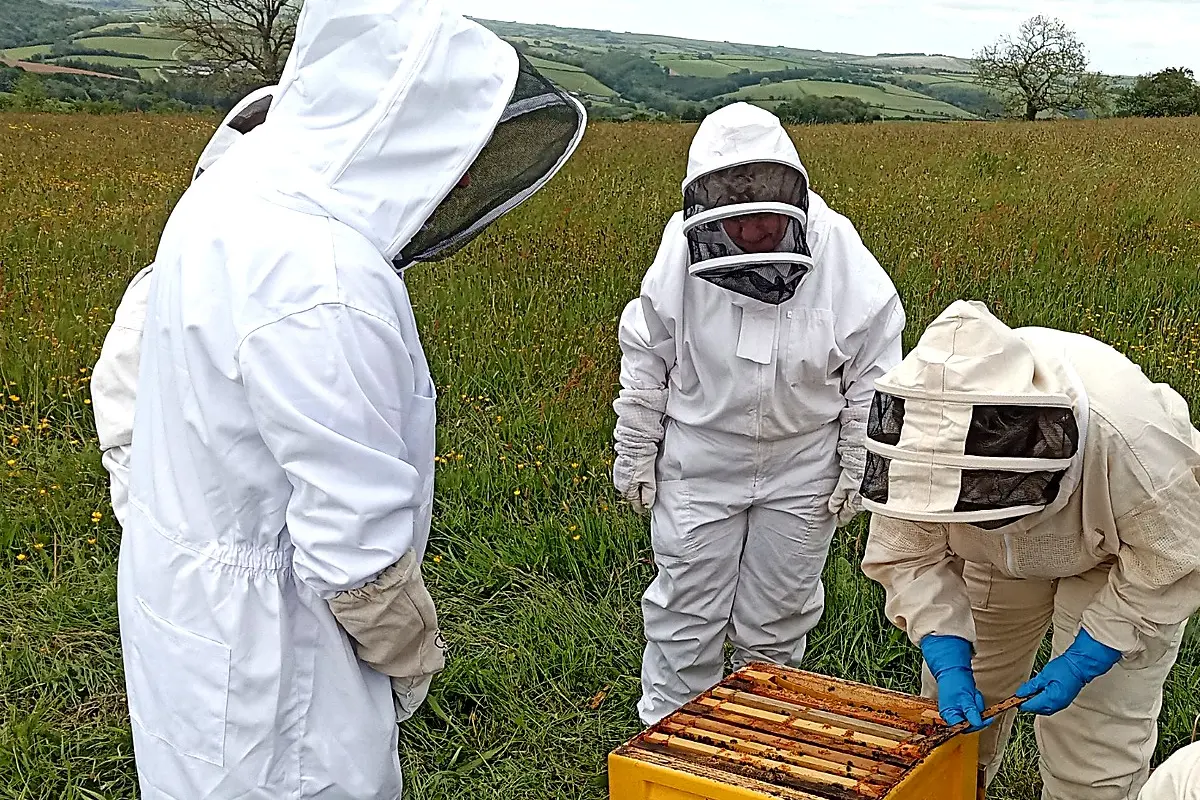
Beekeepers carrying out a practical hive inspection
A purposeful inspection starts with a question and the evidence in the colony.

When the hive is open, take in its overall condition before becoming absorbed in individual frames. Does the colony’s population, brood, food and use of comb make sense together? Is it expanding, stable, reducing or preparing to reproduce? Frames are often mixed: brood, pollen and stores do not arrange themselves into neat, countable blocks. Trying to convert every mixed frame into a precise total can distract from the more useful question: what is the colony doing, and why might it be doing it?

Brood is evidence, not a verdict. Eggs show that a queen has laid recently; open larvae and sealed brood tell you about a continuing sequence of rearing. Their arrangement should be read alongside colony strength, weather, forage and the season. The same applies to stores and space. Space is not simply an empty box or unused frame: it is the right comb in the right place for the colony to use when it needs it.

Observe, predict and test

One of the most useful habits is to make a simple prediction before you close the hive. If the weather holds and the colony is building steadily, what would you expect to see next time? If you have added space, do you expect it to be used? If a young queen was present but not yet laying, what evidence should have appeared by the next check? The next inspection then tests your reading of the colony. Over time this develops practical confidence far better than following a fixed inspection timetable.

Record what matters

Detailed frame-by-frame inventories are rarely necessary. A competent routine record may be no more than “inspected — all normal”. Record the things that need memory or follow-up: an unexpected observation, a concern, an action taken, what you expect to happen next and when you plan to look again. That keeps records useful without turning the inspection into an exercise in measuring everything.

Separate inspection from manipulation

Inspection is observation and judgement. Manipulation is the change you make because the evidence supports it: adding space, feeding, making a split, uniting colonies or dealing with a queen issue. Do not make a change merely because it is part of a routine. Be clear about why it suits this colony now, and leave it with a sensible next check. The colony usually tells you what you need to know if you take the time to notice it.

Understanding Brood: Eggs, Larvae and Capped Brood

Brood is the developing generation of bees: eggs, larvae and pupae. Learning to recognise these stages is one of the most useful parts of an inspection, because it shows what the colony has been doing recently and what it is likely to become over the coming weeks.

Read the brood nest as a whole

The brood nest is three-dimensional, rather than a set of neat, separate frames. It is often roughly oval or spheroid in shape, with the developing brood towards the centre, pollen nearby and honey or nectar further around and above it. The exact arrangement changes with the colony, comb, season and available forage. Look for a pattern that makes sense in context, rather than trying to assign exact numbers to each resource.

Eggs

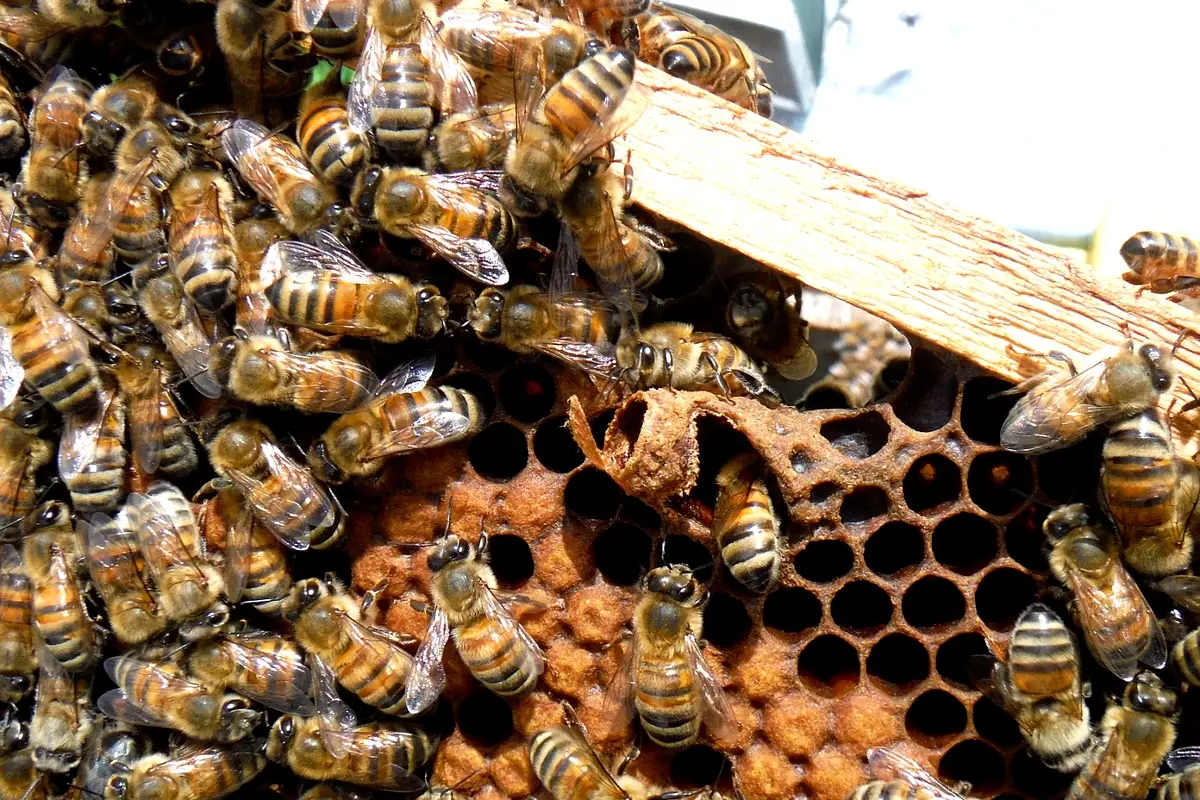
Honey bee brood showing a developing brood pattern on comb
Brood comb varies in appearance, so read it in the context of the whole nest.

Honey bee eggs are small, white and usually laid singly at the base of a cell. Fresh eggs often stand upright, then lean as they develop before hatching. Their position can give a broad indication of age, but it is not a precise clock. Seeing normally laid eggs is good evidence that a queen has been laying recently; it does not, on its own, answer every question about the colony.

Larvae

After hatching, larvae are white, curved and unsealed in their cells. They are fed and tended by workers as they grow. Young larvae can be difficult to see at first, especially in new or dark comb, so good light and a calm, patient look help. Open brood means eggs and larvae; it is a useful sign that the colony has had a continuing laying and brood-rearing process.

Capped brood

When a larva is ready to pupate, workers cap the cell with wax. Beneath the capping, it changes into an adult bee before emerging. Capped worker brood is usually fairly flat; drone brood is larger and more domed. A frame can contain capped brood alongside open brood, pollen, nectar and emerging bees. That mixture is normal and is why whole-pattern observation is more useful than a simple count.

What a brood pattern can—and cannot—tell you

A broadly coherent area containing more than one brood stage usually fits a colony that is raising brood normally. It does not have to be a perfectly solid block. Stores or pollen within the brood area, variation in cell age and emerging bees can all make the pattern less uniform. If the pattern seems unusual, ask what else is present, how the colony is behaving and whether the season explains it. Treat an unexpected pattern as evidence to investigate, not an instant diagnosis.

Development is a guide, not a deadline

Queens, workers and drones all pass through egg, larval and pupal stages, but their development periods differ. Common figures are about 16 days from egg to emerging queen, about 21 days for a worker and about 24 days for a drone. These are practical midpoints, not fixed deadlines: development temperature and other conditions affect the timeline. See Honey Bee Life Cycles: From Egg to Adult Bee for the stages in more detail.

Keep useful notes

After an inspection, record what needs thought, action or follow-up: for example an unexpected brood pattern, limited pollen or uncertainty you want to check again. Routine frame-by-frame inventories rarely improve your understanding. With practice, the aim is to recognise what is ordinary for that colony and notice the exceptions.

Next read: How a Honey Bee Colony Changes Through the Season